
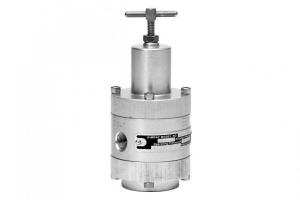

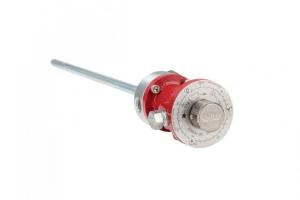
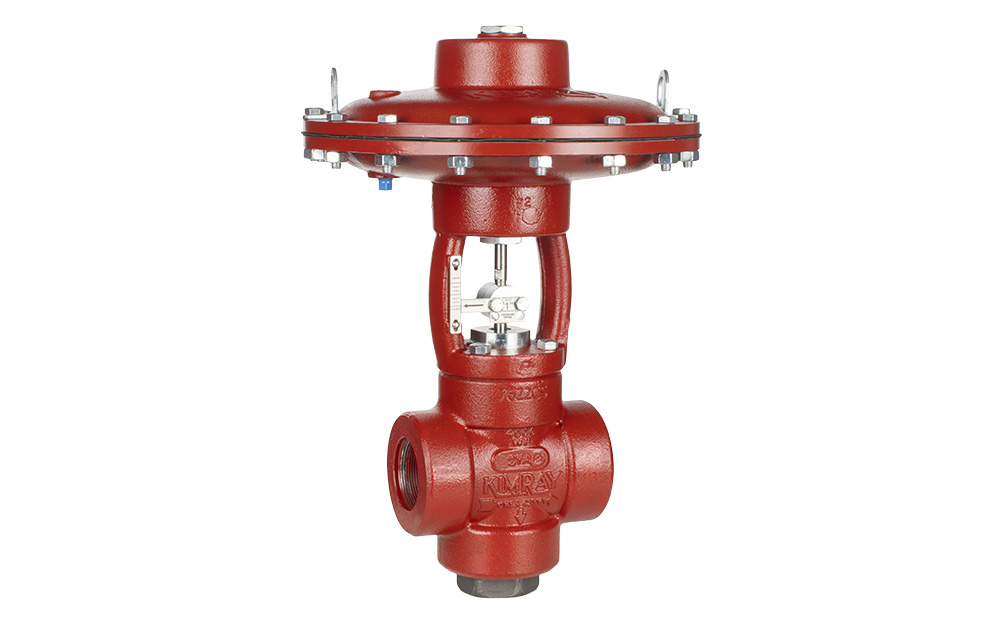
A frozen valve can lead to production downtime and frustration. Due to the Joule-Thomson Effect, if enough pressure is reduced across a valve, the condensation can freeze, causing significant problems for your production.
Our recommendation to prevent this is to use a catalytic heater on the valve body.
Required Components
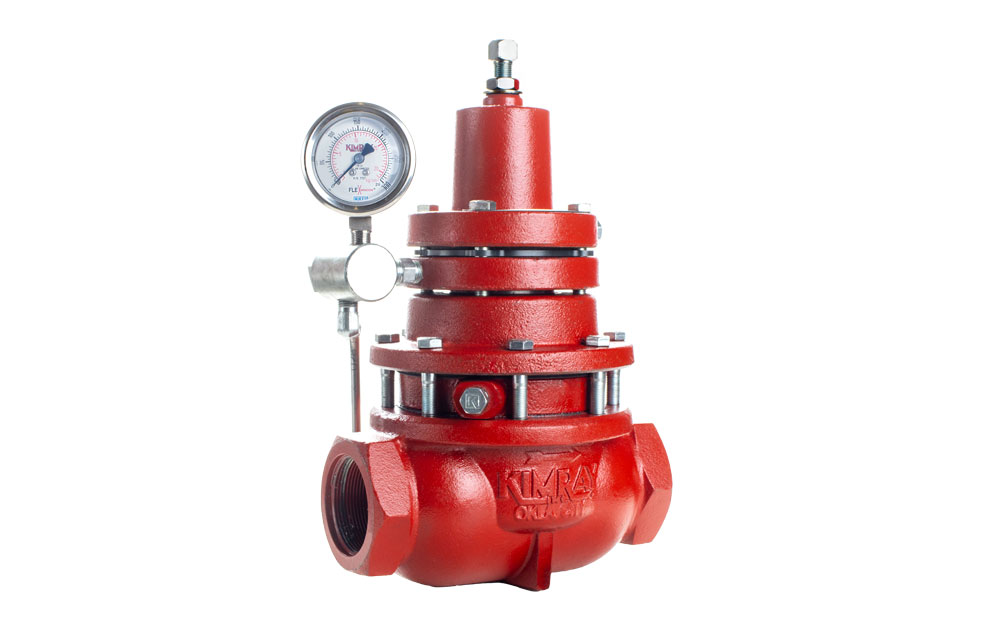
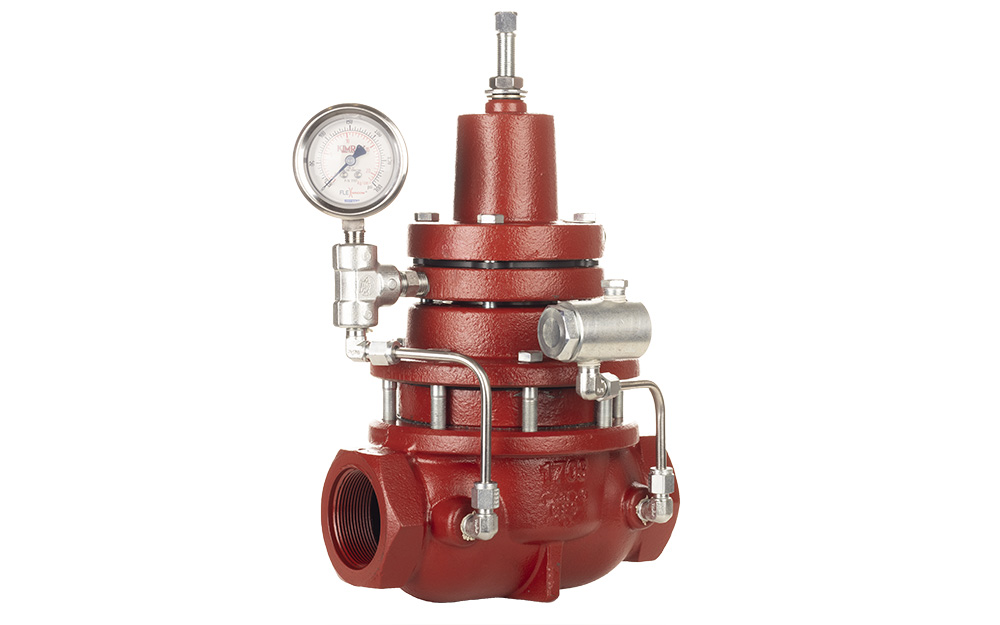
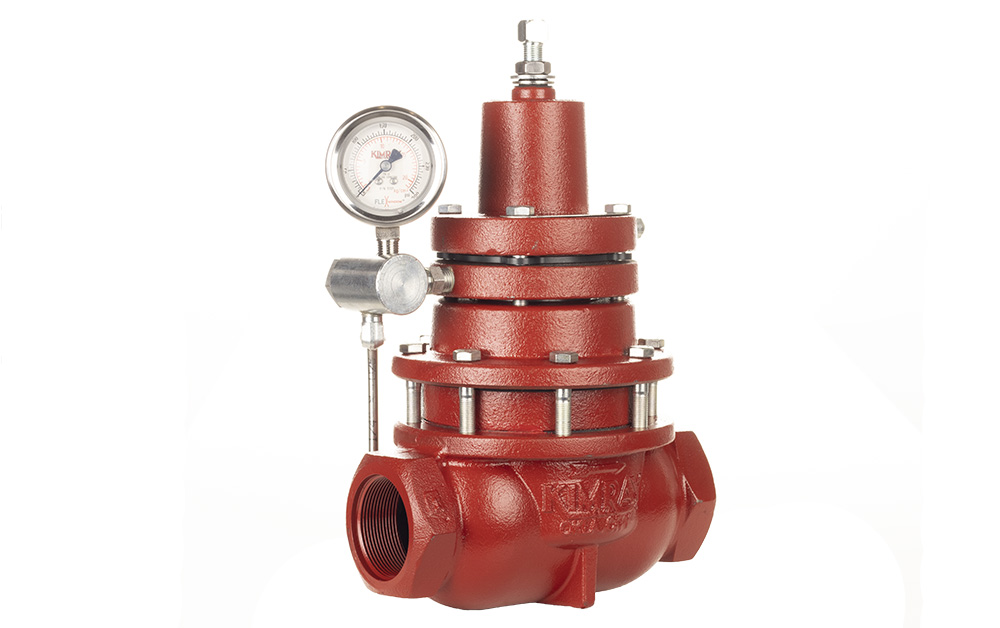
A standard Catco catalytic heater package ordered from Kimray will include all the components needed for most installations. Depending on your valve model and site-specific needs, such as area classifications or voltage for international use, some optional components may be required.
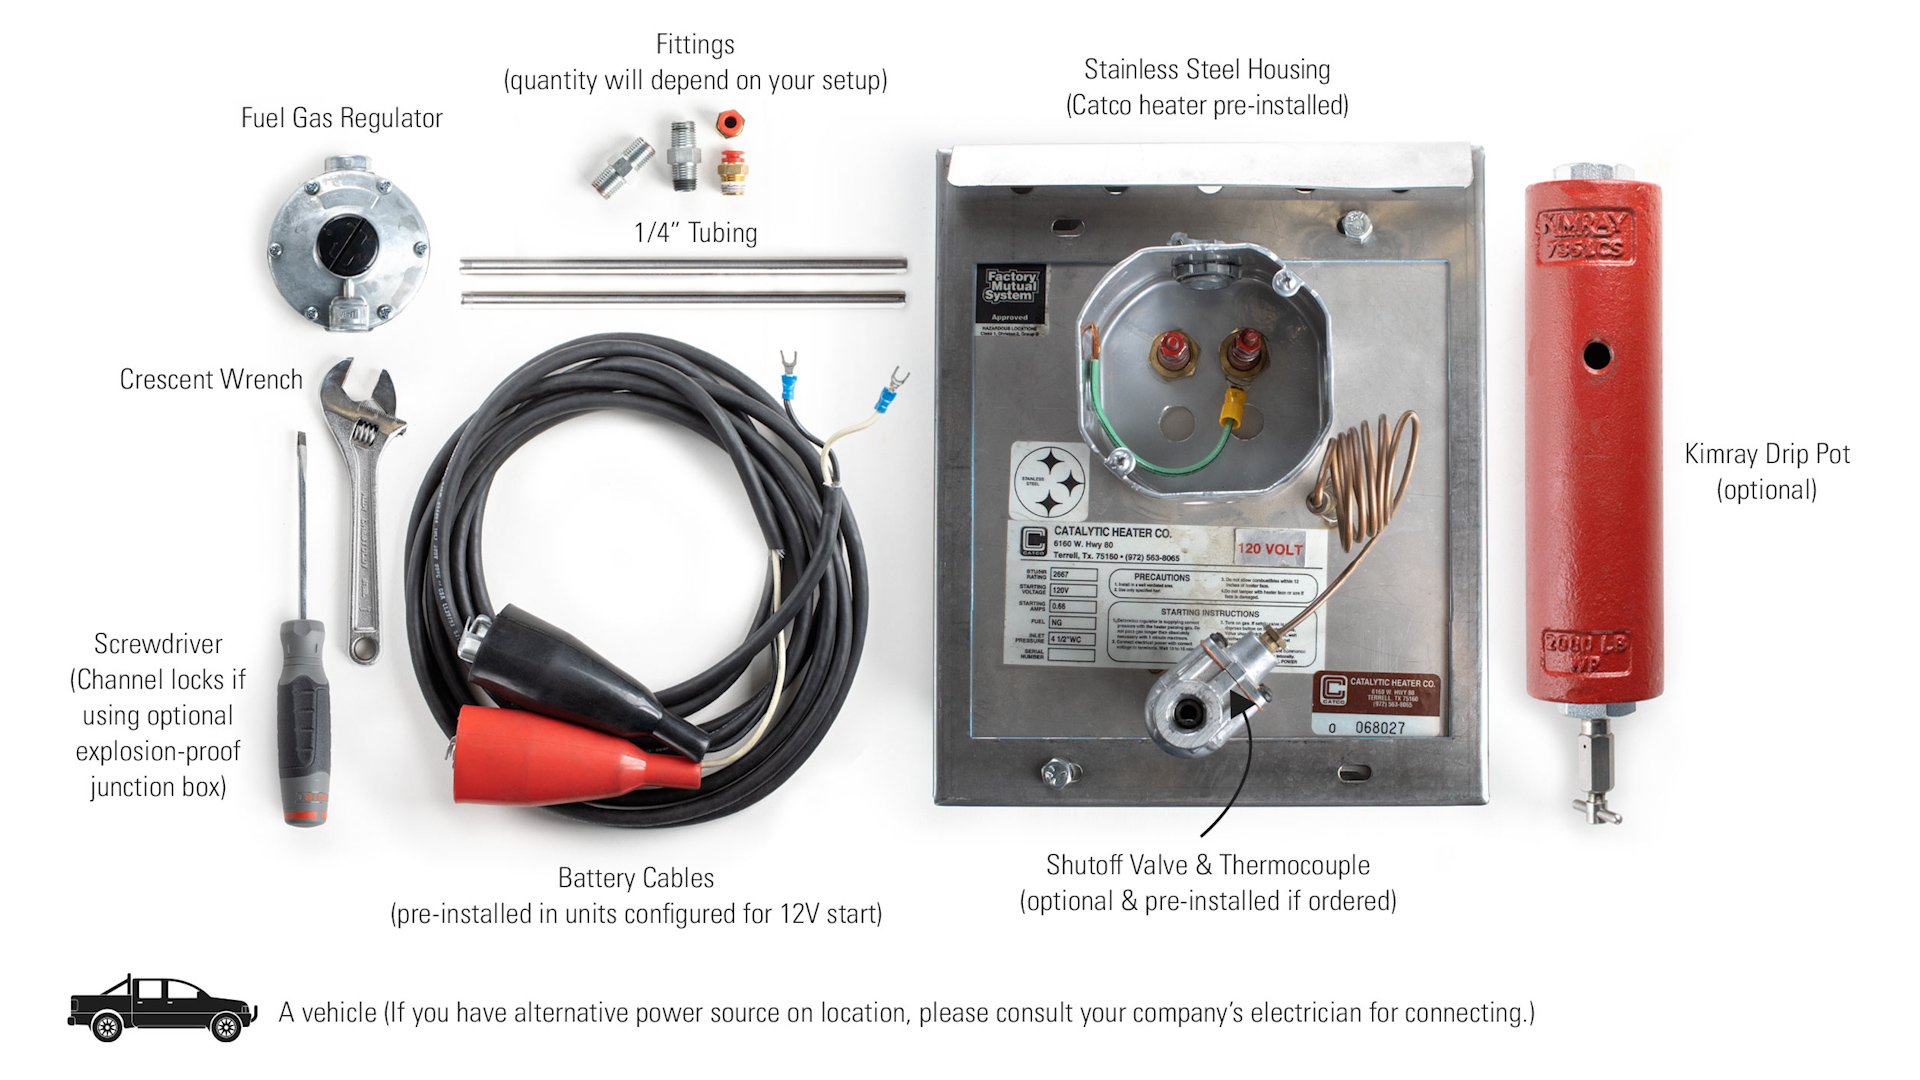
For most installations, you’ll need the following components and tools:
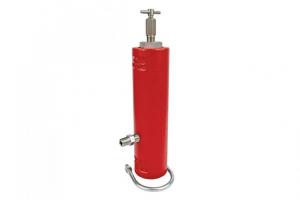
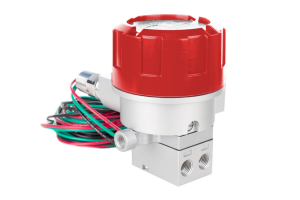
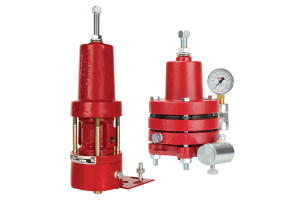
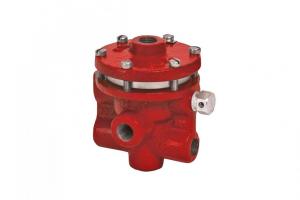
- A stainless-steel housing (with the Catco heater pre-installed)
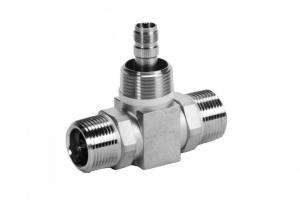
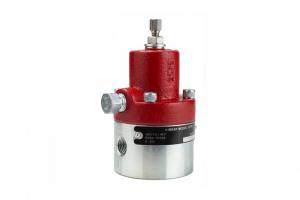
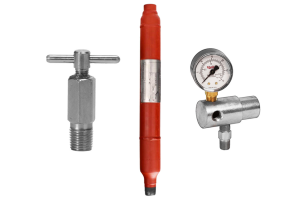
- A Fuel Gas Regulator
- U-bolts
- Battery Cables. (Units configured for 12V start will have these pre-installed.)
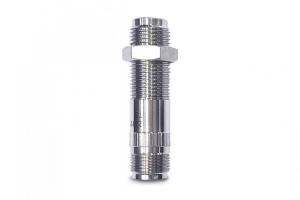
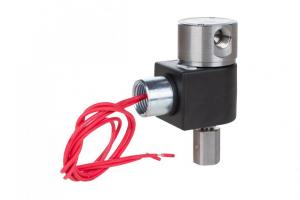
- Optional shutoff valve and thermocouple
- ¼” tubing and tubing cutters
- Fittings (your quantity will depend on your setup)
- A small crescent wrench
- Channel locks (if using explosion proof junction box)
- A vehicle. (If you have alternative power source on location, please consult your company’s electrician for connecting.)
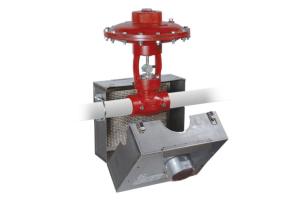
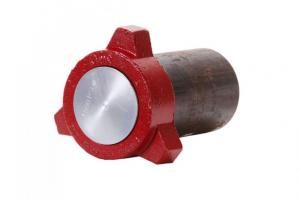
Enclosure Installation
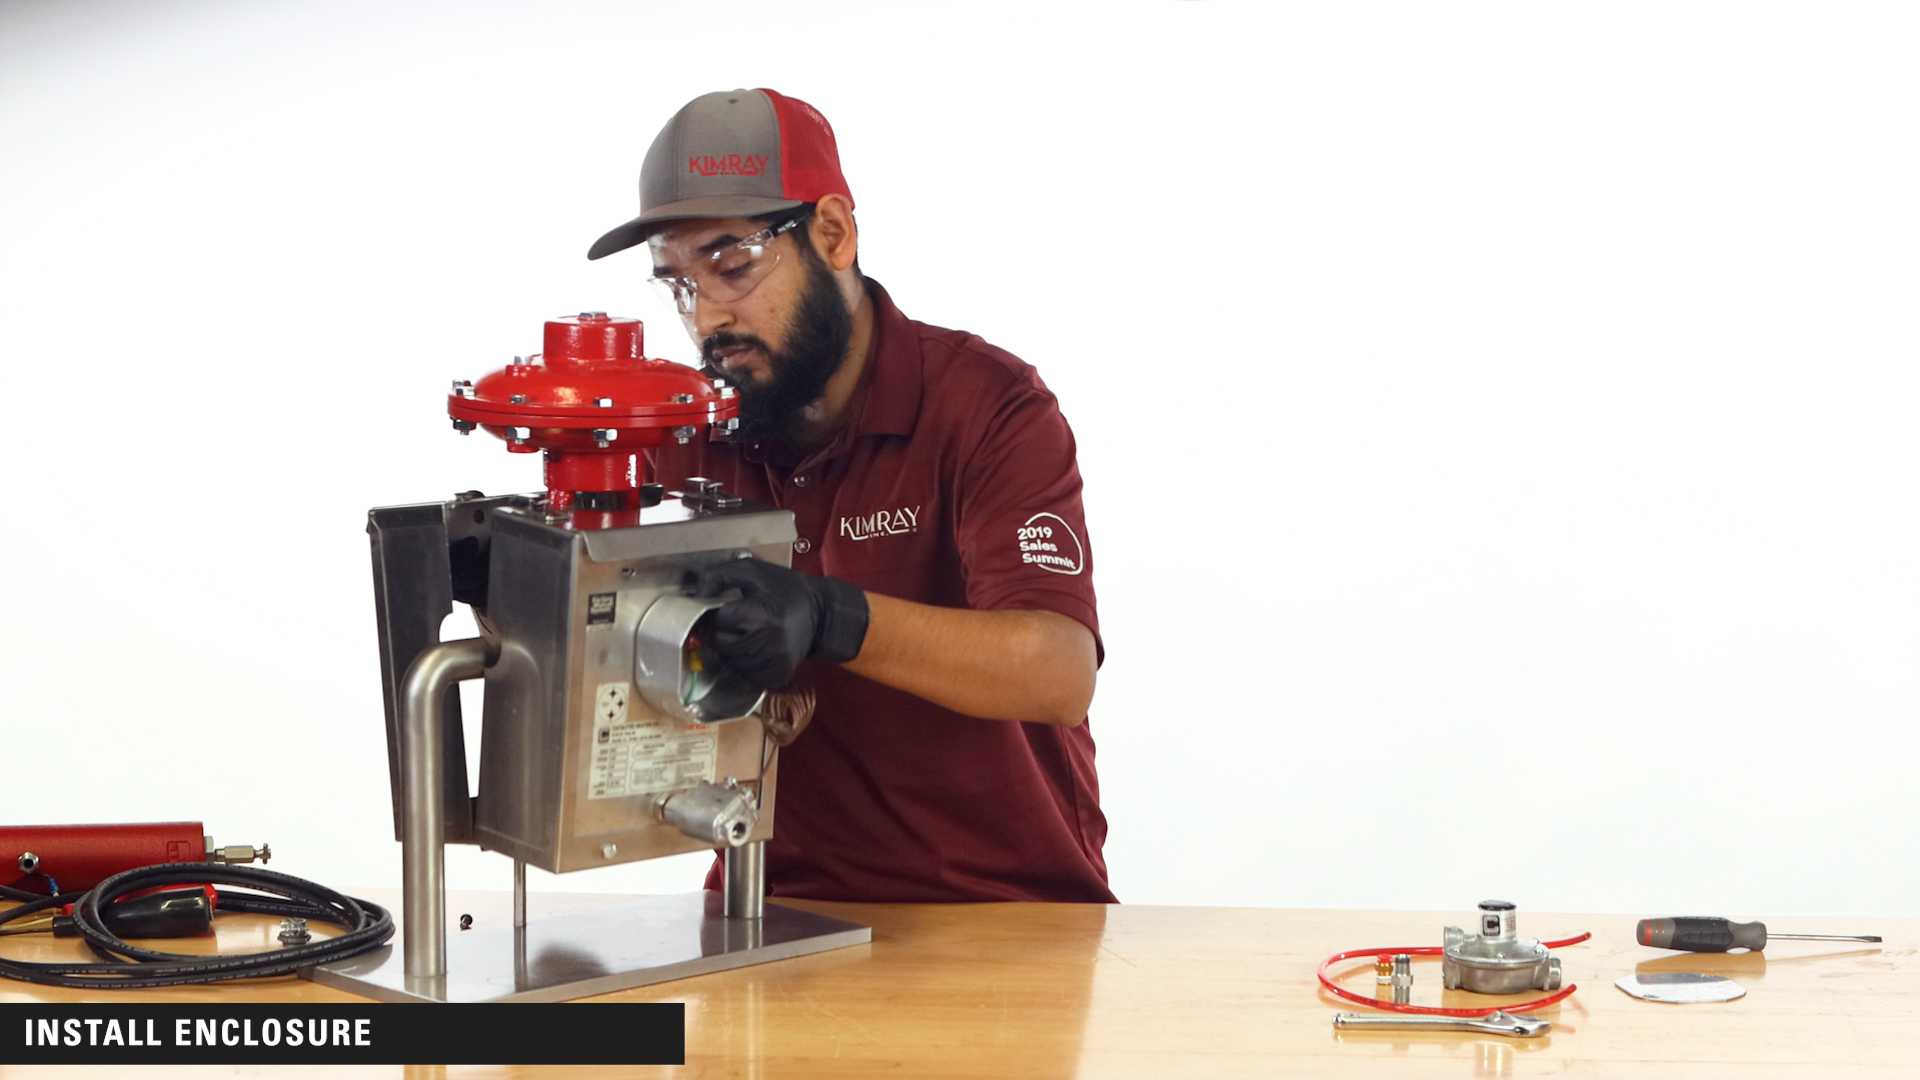
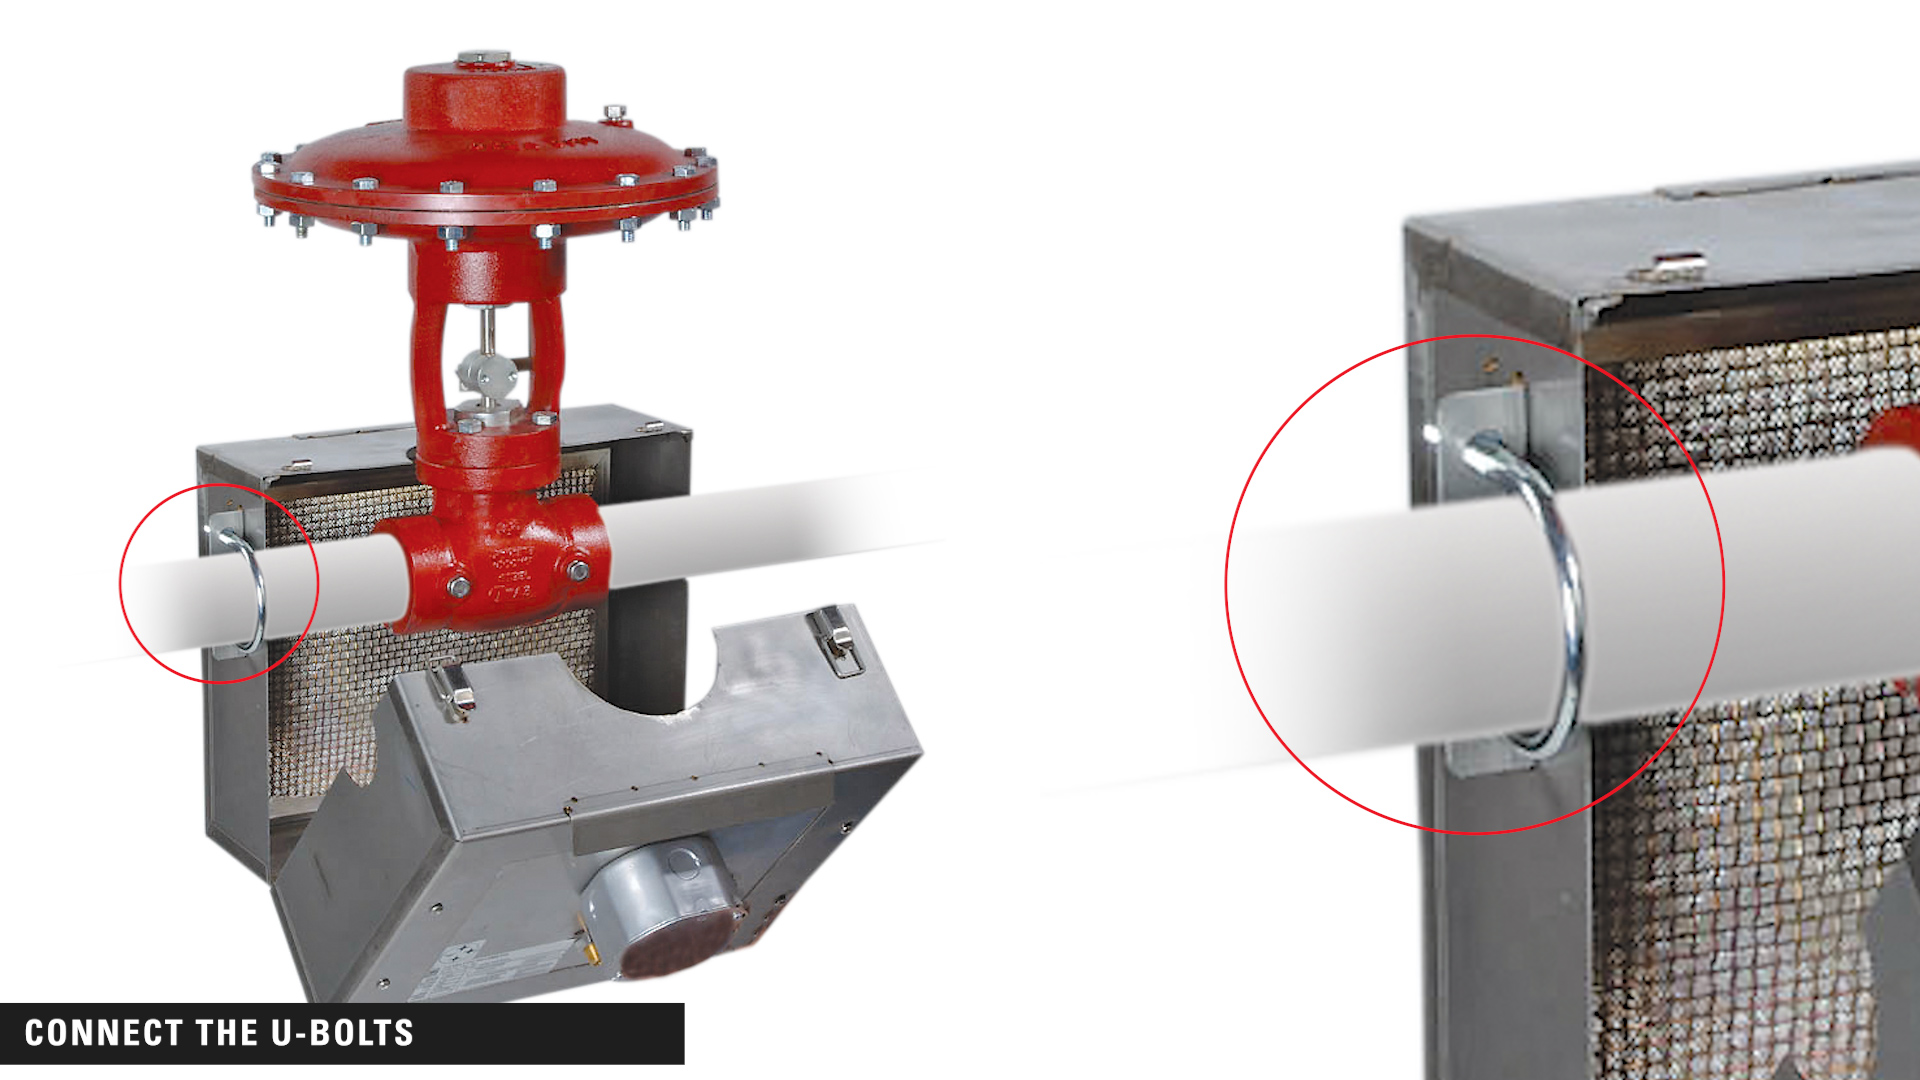
To install the enclosure, simply place it around the valve, then close the housing and relatch.
Connect the U-bolts to the mounting brackets on the housing to secure the unit in place.
If you’re using a shutoff valve and thermocouple, they will come pre-installed. For information about optional parts available and how they function, contact Kimray's Product Support team.
Now you're ready to make the fuel connections.
Fuel Connections
If you are using a shutoff valve, thread the low-pressure fuel gas regulator into the inlet side of the shutoff valve with a tubing fitting.
If you are not using a shutoff valve, thread the tubing fitting directly into the back of the enclosure.
Install the gas supply line into the fuel gas regulator with a fitting. Consult your company guidelines for tubing requirements.
Installation is limited to connecting to a suitable gas supply. Heaters may be started using either DC or AC power, making them ideal heating sources for remote locations where electrical power is limited or not available. For natural-gas-fired heaters, fuel gas is usually readily available on site.
Optional Drip Pot
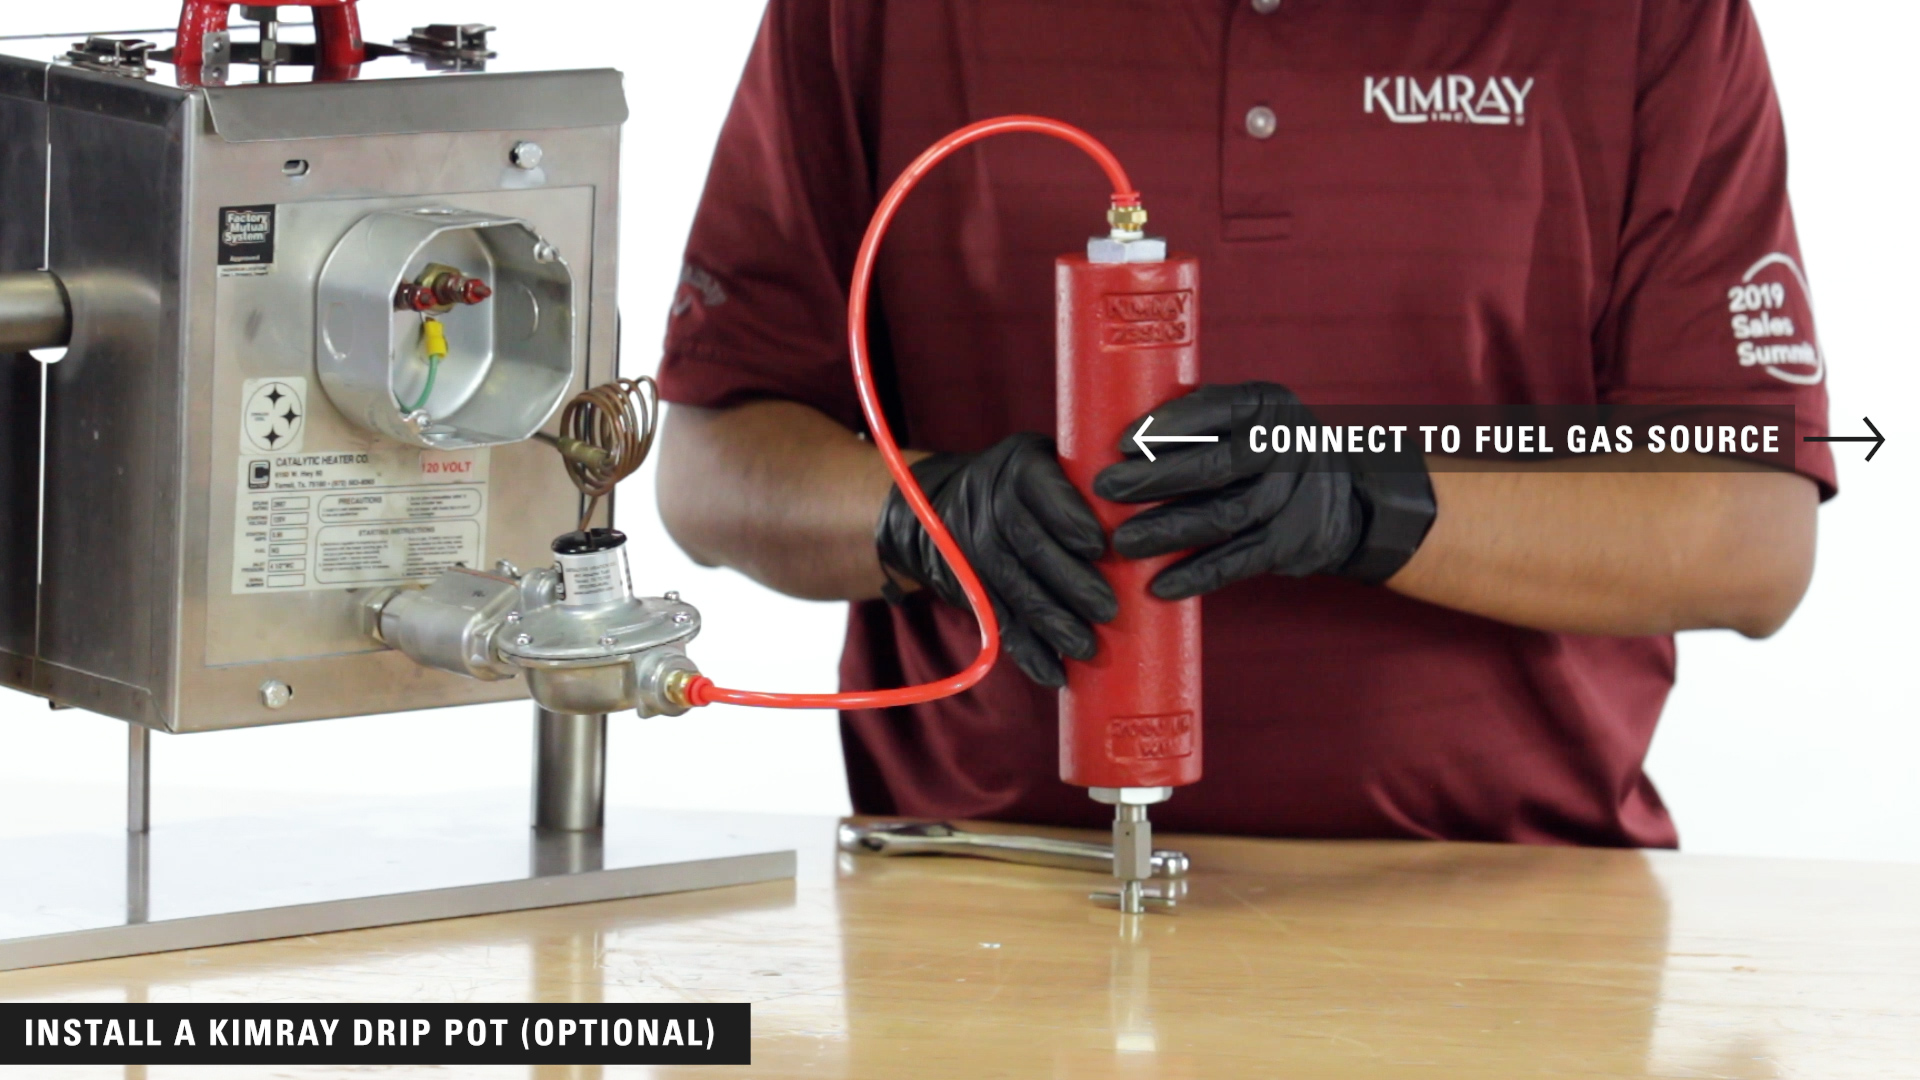
If you have wet gas, it’s helpful to install a Kimray Drip Pot to remove any excess liquids. Simply mount the drip pot vertically and connect it between your fuel gas source and your low-pressure fuel gas regulator.
If wet gas is an issue after installing the drip pot, you may also want to install a Mini Scrubber.
Connect Battery Cables
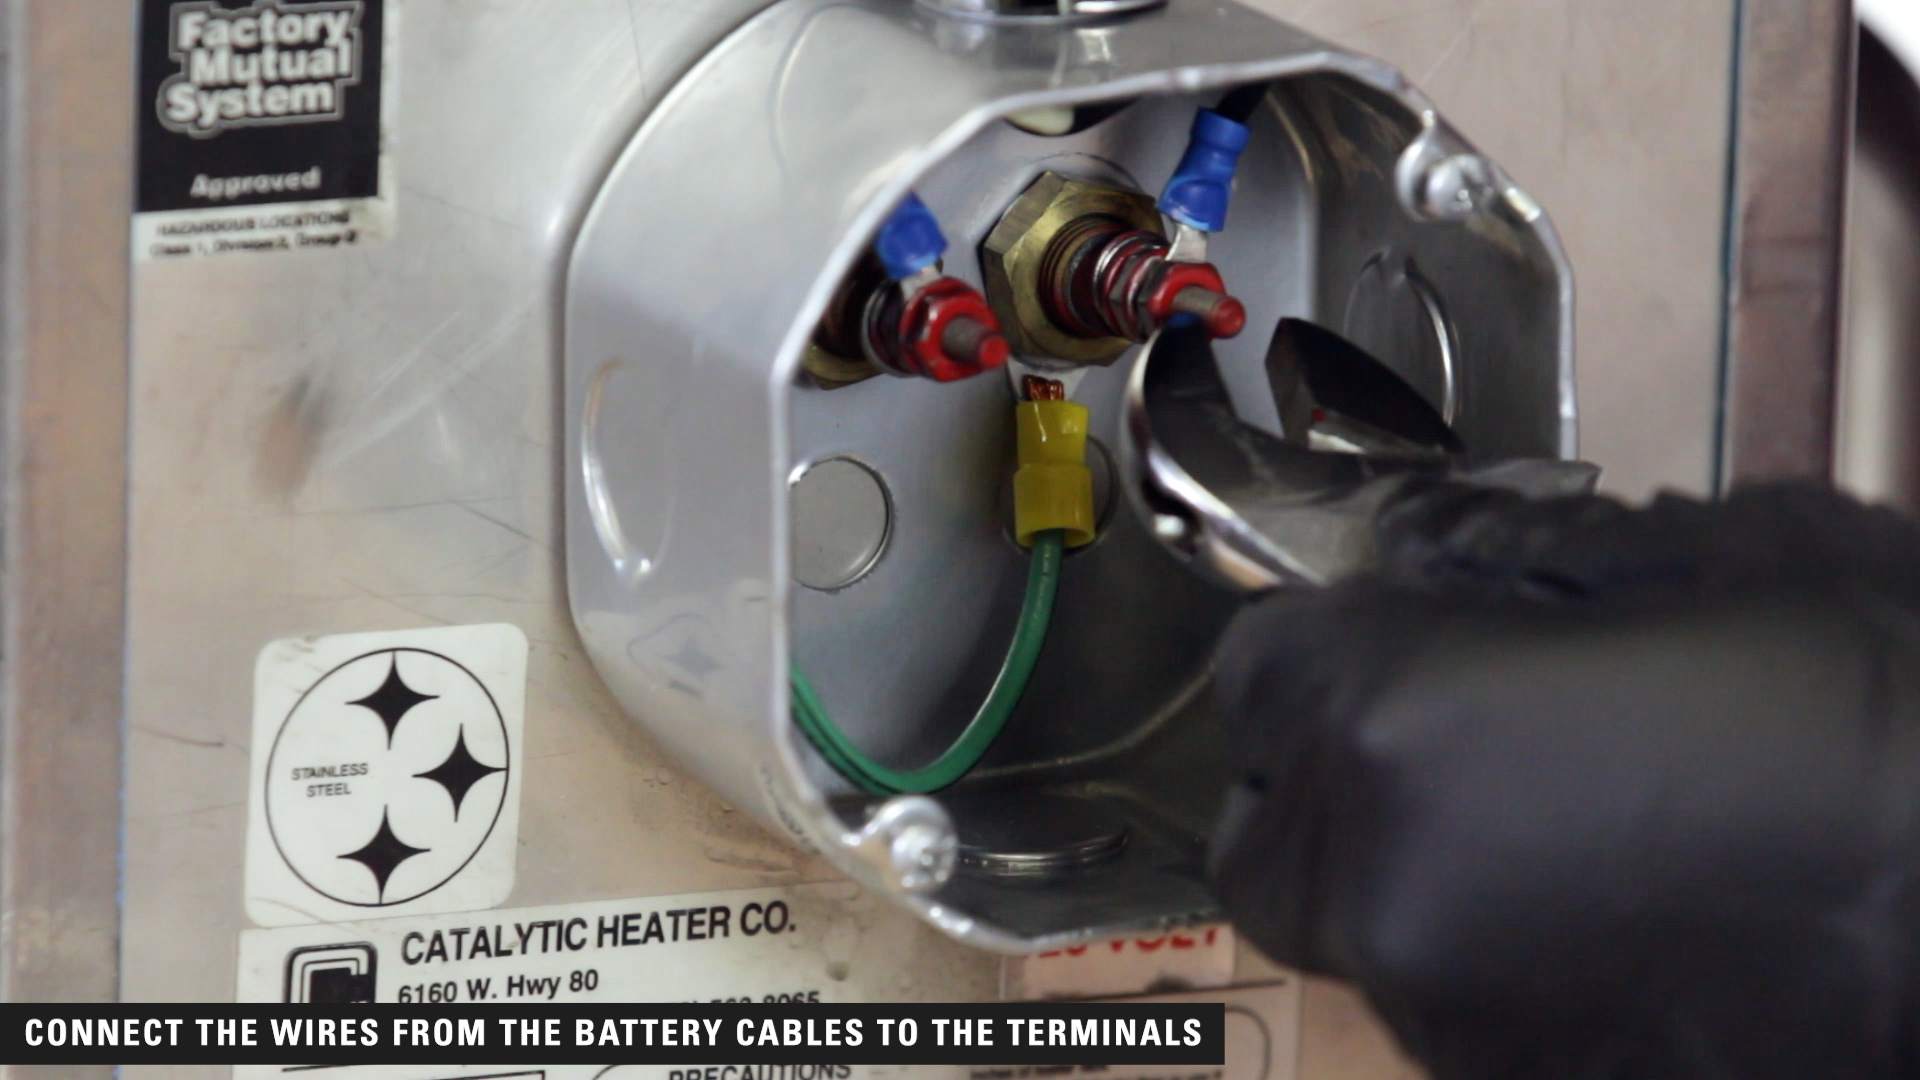
Next, connect the wires from the battery cables to the terminals inside the junction box with a small crescent wrench or end wrench. Either cable – black or white – can be connected to either terminal. Use a screwdriver to close the connection in the junction box, or channel locks if you’re using an optional explosion proof box and replace the cover.
There are two ways to start the Catco heater – local power source or battery cables.
If you have alternative power source on location, you'll need to consult your company’s electrician for connecting these components.
For starting using battery cables, turn on your vehicle, then connect the cables to the battery on your vehicle.
Leave your fuel gas shut off. This allows the catalytic reaction that produces heat can begin.
The catalyst bed must be preheated to approximately 250° F (121° C) and will take approximately 15 minutes to come up to temperature. Once the catalyst bed has been preheated, open your fuel gas line.
If you are not using a shutoff valve, simply opening the fuel gas line will start the catalytic reaction.
If you do have a shutoff valve installed, press and release the button to start the flow of fuel gas to the heater to start the catalytic reaction.
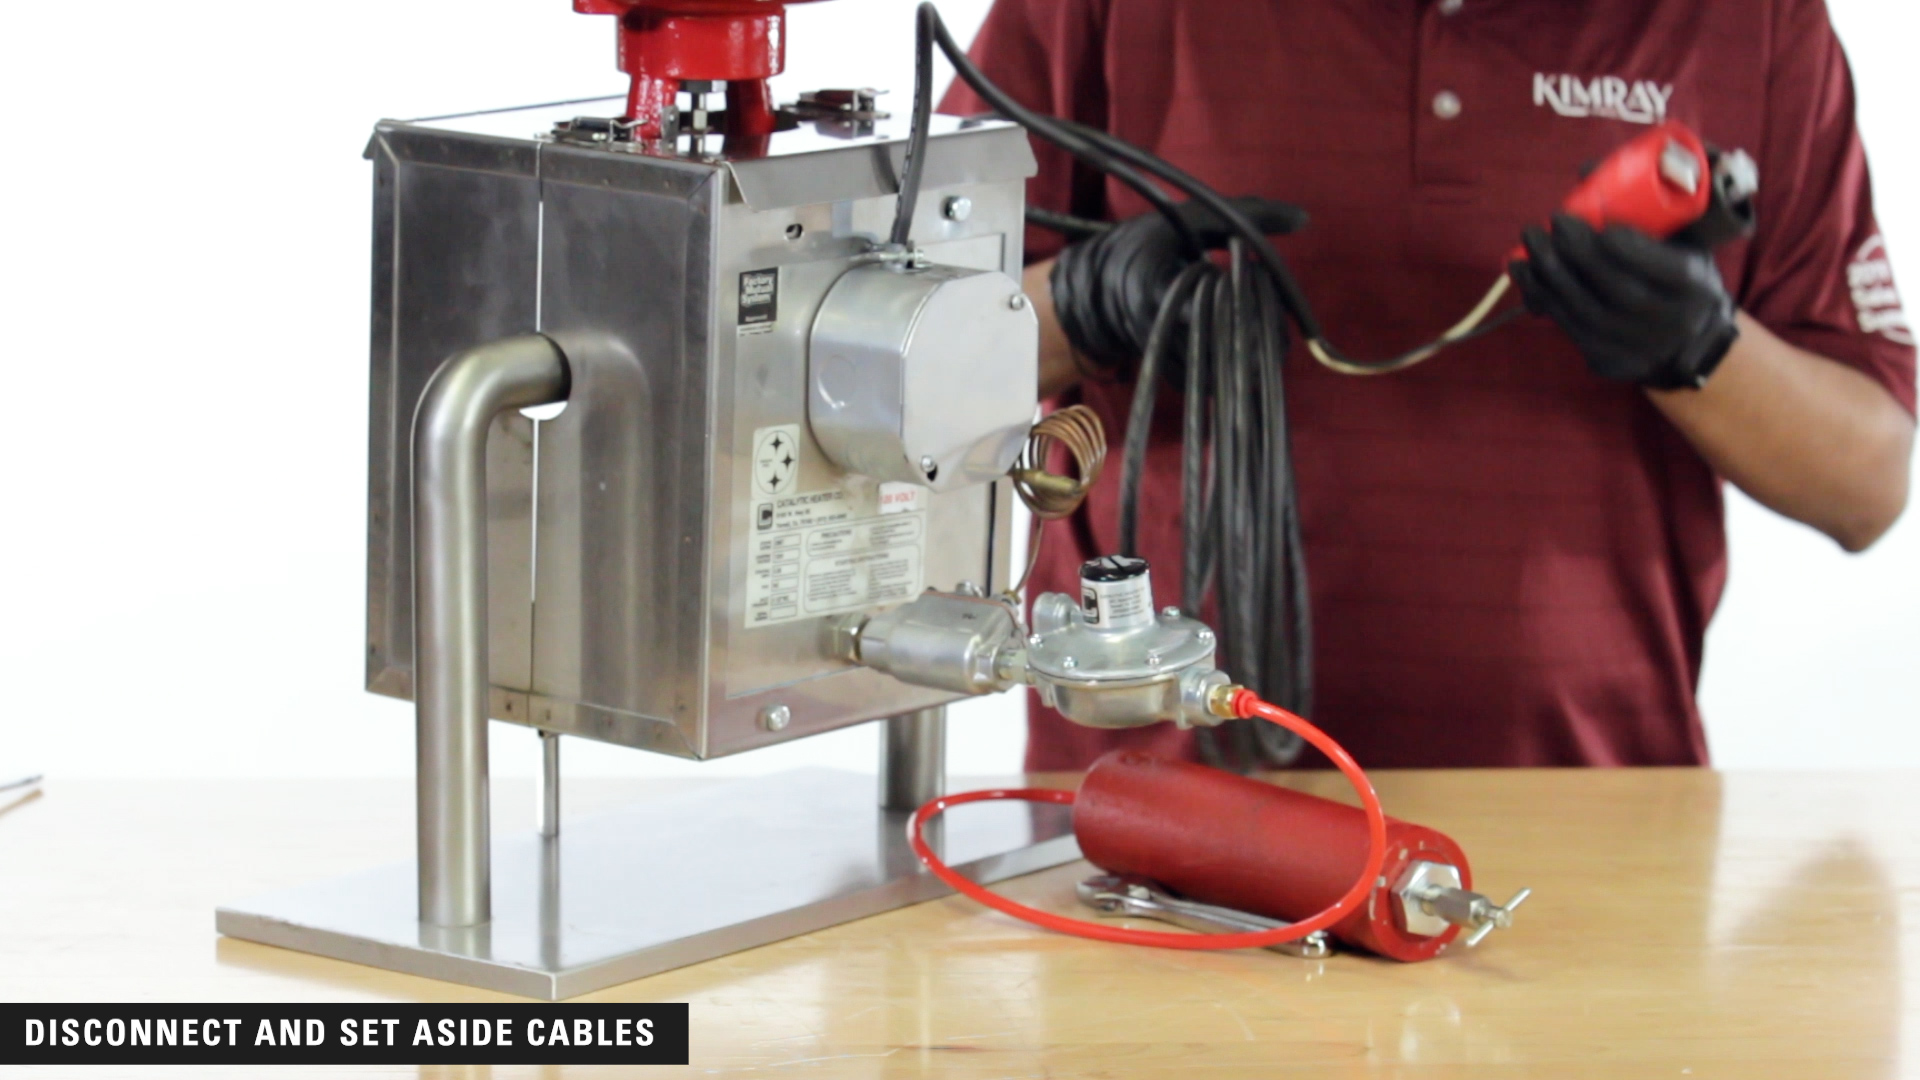
Leave the connection for 5-10 minutes until the catalytic reaction is fully established. This will be indicated by a rapid rise in face temperature. Once the reaction is established, disconnect the cables from your vehicle. If an electrician has hardwired the power, the electrical power can now be turned off.
Once the heater is in normal operation, you can roll up the cables and set them aside. This chemical reaction will continue for as long as the heater is provided with a clean fuel supply.
Shut Down
To shut down the heater, turn off the fuel supply to cause the catalytic reaction to stop. Be sure not to handle the unit until it’s sufficiently cooled.
If you have any questions regarding Catco catalytic heaters or the optional components, please contact the Kimray Product Support team.
Disclaimer: This video is for information purposes only. Catco products are intended for industrial use only and should only be installed and operated by professionals with appropriate training in gas, electrical, and general personnel safety. If you have purchased from Kimray and need guidance, please contact product support at (405) 525-4264 or productsupport@kimray.com. Kimray shall not be held libel for any compensation, claims or damages resulting from use of this video tutorial. Before beginning any services, complete all necessary training and review product and site safety requirements.