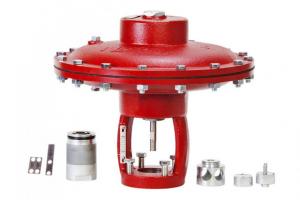
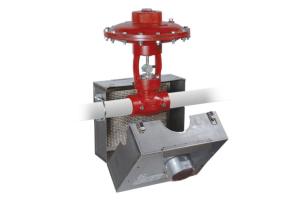

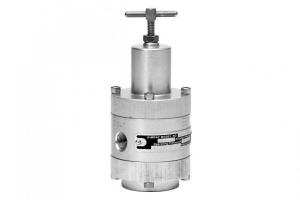

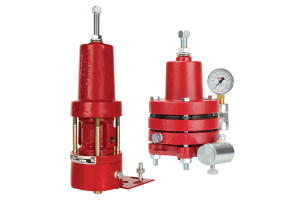
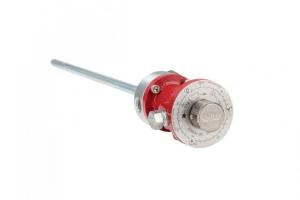
Oil and gas producers use a Pneumatic Temperature Controller to control a set temperature in production vessels like heater treaters, reboilers, and heat exchangers.
In this video, I’m going to show you how to repair one.
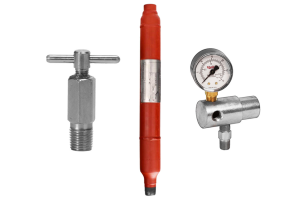
Tools needed
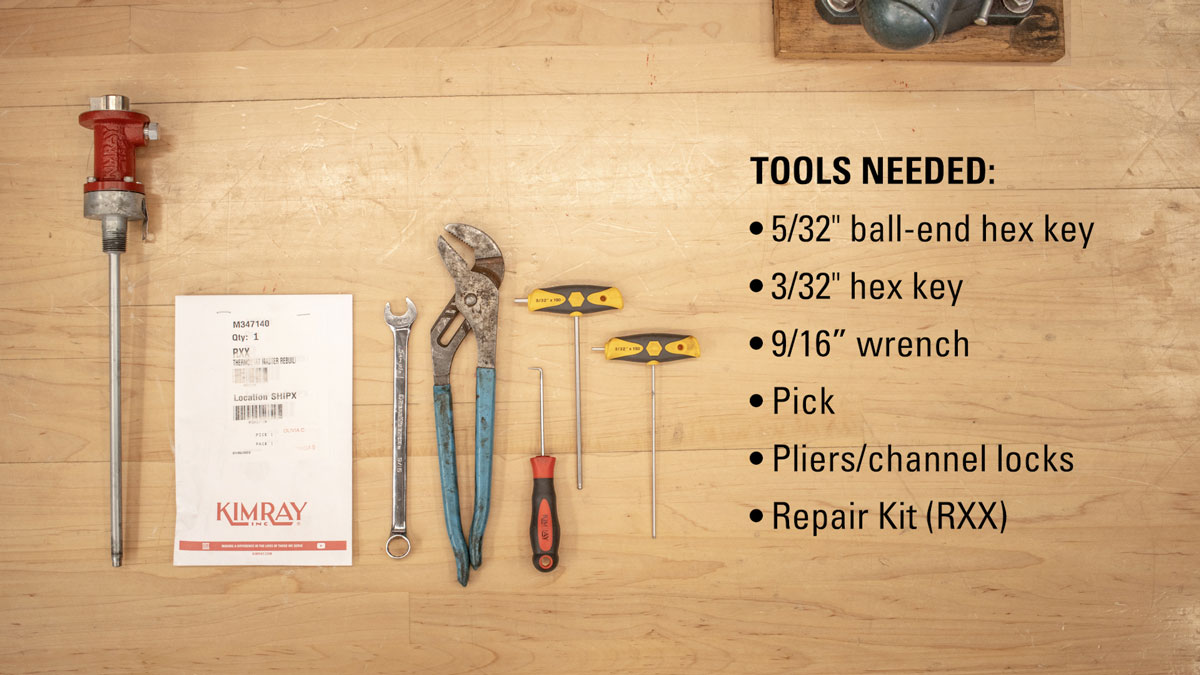
- 5/32" ball-end hex key
- 3/32" hex key
- 9/16” wrench
- Pick
- Pliers or channel locks
- Repair Kit (RXX)
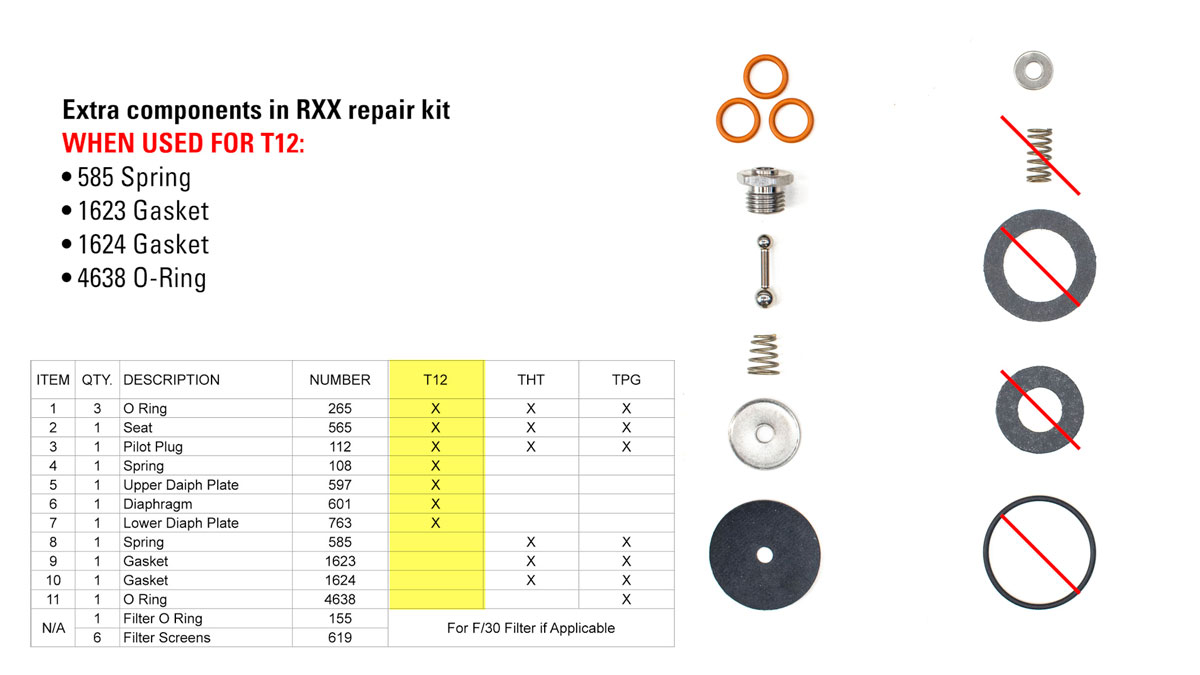
This repair kit has all the pieces needed to repair the T12, the high temperature thermostat or the pilot guard. You’ll have extra components depending on which product you’re repairing.
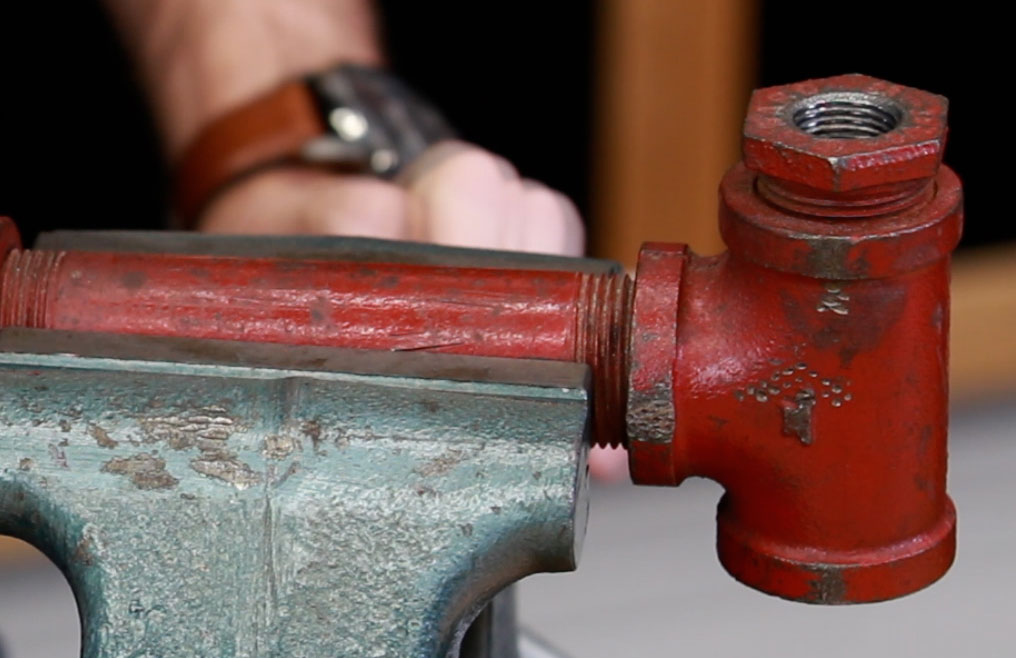
Jig
- 3/4" Tee
- 8” long 3/4" pipe
- 3/4" to 1/2" reducer nipple
We’ll be using a jig to help with our repair process to allow us to secure the T12 in place without risking damage to the unit. If you don't have these supplies or won’t be able to make a jig, carefully clamp the base of the T12 into your vise.
Disassembly
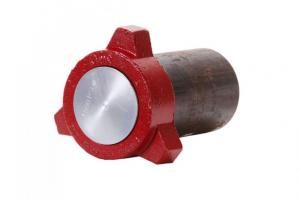
Probe / Base
- The first thing you want to do is check to see if the probe is bent. If the exterior stainless-steel tube gets bent and comes into contact with the bi-metal inside, it can cause erratic temperature changes. There is no way to repair a bent probe, so if that is your issue, it’s time to order a replacement. If it’s not bent, move on to the repair.
- Tighten the jig in the vice and screw the T12 base on the jig.
Seat Assembly
- Loosen the seat assembly by turning the adjustment knob counterclockwise.
- Once you’ve unthreaded the seat assembly so that the top o-ring is exposed, pull up on the knob until it comes out.
- Remove the set screw by using a 3/32" hex key and remove the seat from the knob.
- Use a pick to remove and discard the O-rings from the seat.
Breather Plug
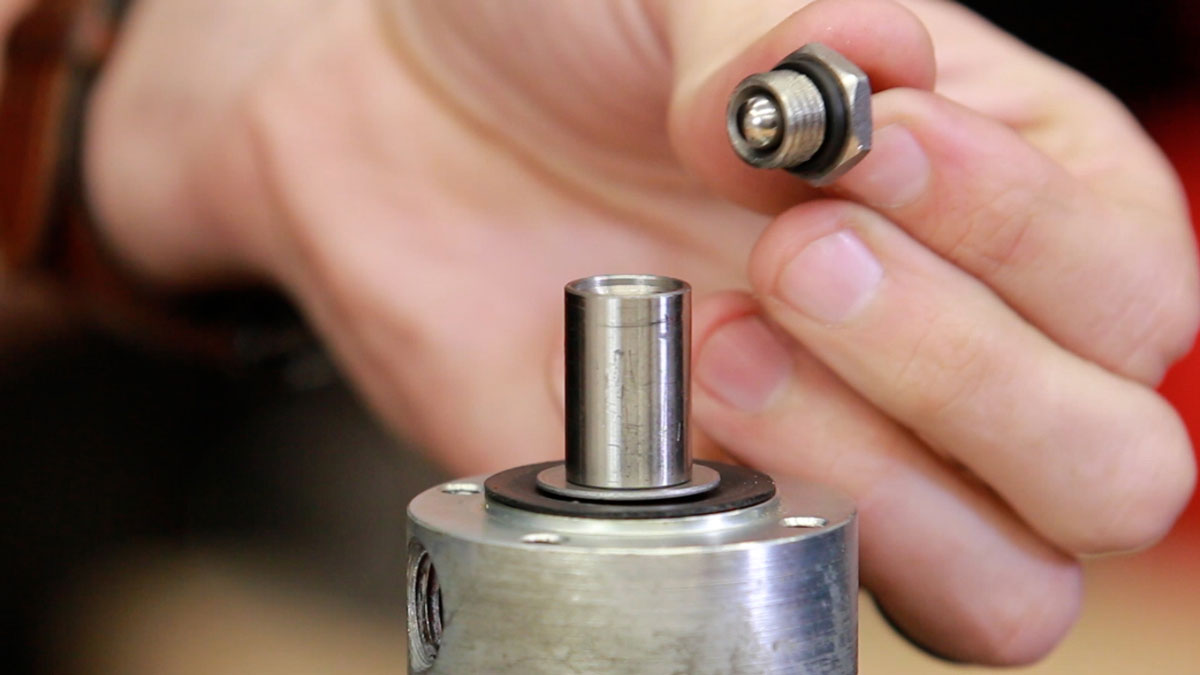
- Use a 9/16” wrench to remove the breather plug.
Bonnet
- Use a ball-end 5/32” hex key to loosen the four bonnet screws
- Remove the bonnet
Housing Assembly
- Use a 9/16” wrench to loosen the lower seat.
- Scenario 1: If the seat and housing come out together, use pliers or channel locks and a 9/16” wrench to loosen the seat from the housing. Then discard the pilot plug, seat, o-ring and spring. Keep the housing.

- Scenario 2: If the seat separates from the housing, use pliers or channel locks to remove the housing from the base. Discard the pilot plug, seat, o-ring and spring. Keep the housing.
- Scenario 1: If the seat and housing come out together, use pliers or channel locks and a 9/16” wrench to loosen the seat from the housing. Then discard the pilot plug, seat, o-ring and spring. Keep the housing.
- Remove and discard the diaphragm and two diaphragm plates.
Cleaning
- Clear out all ports on the bonnet, base, breather plug, and seat assembly with compressed air. Make sure there is no debris remaining.
Concentricity
- Check the concentricity between the low expansion rod hole and the base. If the low expansion rod is not centered, tap or push the rod gently with your hand until you find concentricity.

Assembly
- Place an O-ring on the seat.
- Then, insert the pilot plug into the seat, small-ball down.
- Place the upper diaphragm plate on the housing with the bevel side pointed away from the diaphragm.
- Place the diaphragm on the plate.
- Then, place the lower diaphragm plate on top.
- Now, insert the spring in the housing, placing the wider side on bottom.
- Hand-start the seat into the housing threads.
- Hold the housing with channel locks and tighten the seat into the housing.
- Now put that assembly into the low expansion rod and hand-tighten. Don’t overtighten as this is likely to cause performance issues.
- Place the bonnet on top of the base, turn so that the uppermost port is aligned with the connection port on the base.
- Insert the bolts and tighten with a 5/32" hex key.
- Install two O-rings on the seat.
- Insert the seat into the bonnet, threads down, using light pressure and a rotating motion.
- Place the adjustment knob onto the seat and use the 3/32" hex key to thread in the set screw.
- Now, turn until threads are engaged and you can no longer see the o-ring.
- Lastly, reinstall the breather plug into uppermost port on the bonnet.
Testing & Calibration
- Install a readable pressure gauge for 30 psi in the outlet connection of the base assembly.
- Supply the temperature controller with 30 psi of air pressure. The gauge may be showing pressure, but we’ll need it at zero before we test and calibrate.
- Loosen the set screw from the adjustment knob and remove the knob.
- If pressure is indicated on the outlet gauge, turn the seat counterclockwise slowly until the pressure vents from the gauge. The gauge should read zero before you begin.
- Check for air leakage around the seat with a soapy solution. There should only be a slow bubble blowing from the soap solution. This checks the seal of pilot plug on the seat.
- After cleaning the soap off the seat, turn the seat clockwise until the output pressure equals the supply, which is 30 psi, then continue for approximately one quarter turn.
- Check again for air leakage around the seat and breather plug. There should only be a slow bubble blowing from a soap solution.
- If the pilot plug or seat is leaking excessively, it may be due to remaining debris.
- Now, with no pressure on the outlet gauge, slowly turn the seat clockwise until the gauge reads 10 to 15 psi.
- The sensing tube of the controller should be sensing atmospheric temperature, which you can check with a thermometer. Locate this atmospheric temperature on the scale of the controller.
- Install the adjustment knob on the seat with the indicator at atmospheric temperature. Celsius is on the inside of the scale and Fahrenheit is on the outside.
- The knob should be pushed on just far enough to be able to tighten the set screw. Be careful not to turn the seat.
- The T12 is rated to 400F. This is the maximum set point you will ever control. After adjusting to 400F, loosen the set screw and push the adjustment knob all the way down. Then tighten the set screw back.
- The adjustment knob can now be moved to any desired temperature setting below the maximum set point. It cannot be adjusted higher.
Field Setting
For installation in the field, use this same procedure except instead of using a pressure gauge, observe the burner valve as it opens and closes to position the adjustment knob at the proper temperature in accordance with a thermometer on the vessel.