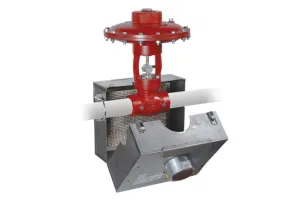


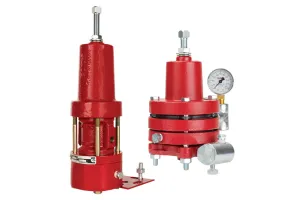
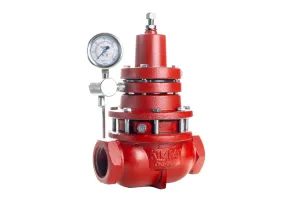
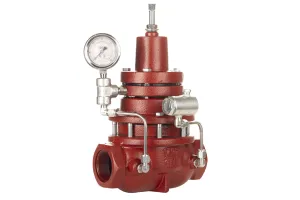
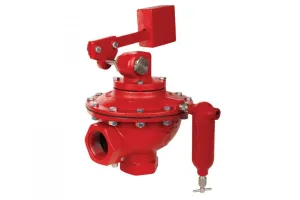
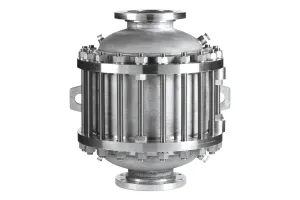
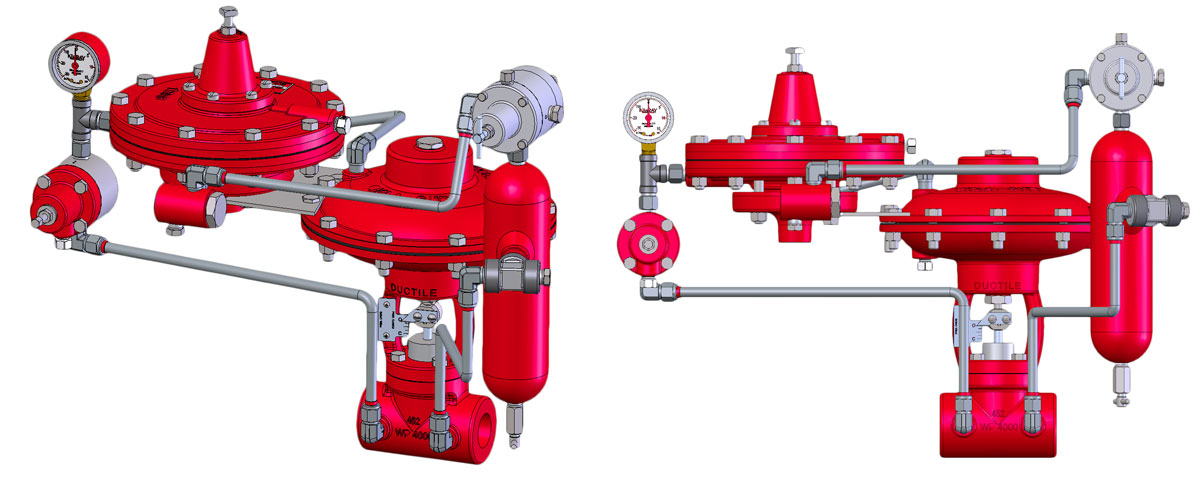
A low pressure pilot can be used in a control valve package to control pressure ranges spanning from a few ounces to 20 psig. Common low pressure regulation applications include:
- Vapor pressure regulation on storage tanks
- Compressor by-pass control for gas recirculation
- Low pressure head regulation on flash separators
Regular maintenance should be done at least every 12 months, which may increase or decrease over time depending on changing application environments.
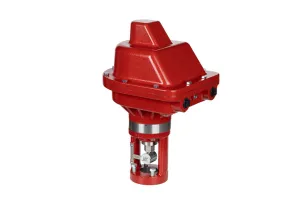
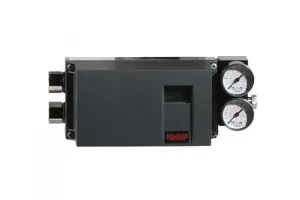
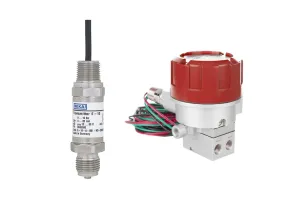
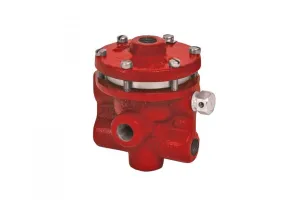
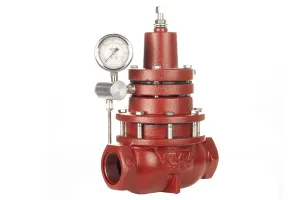
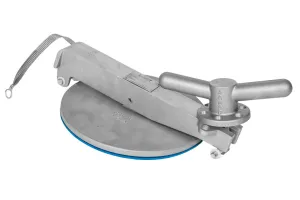
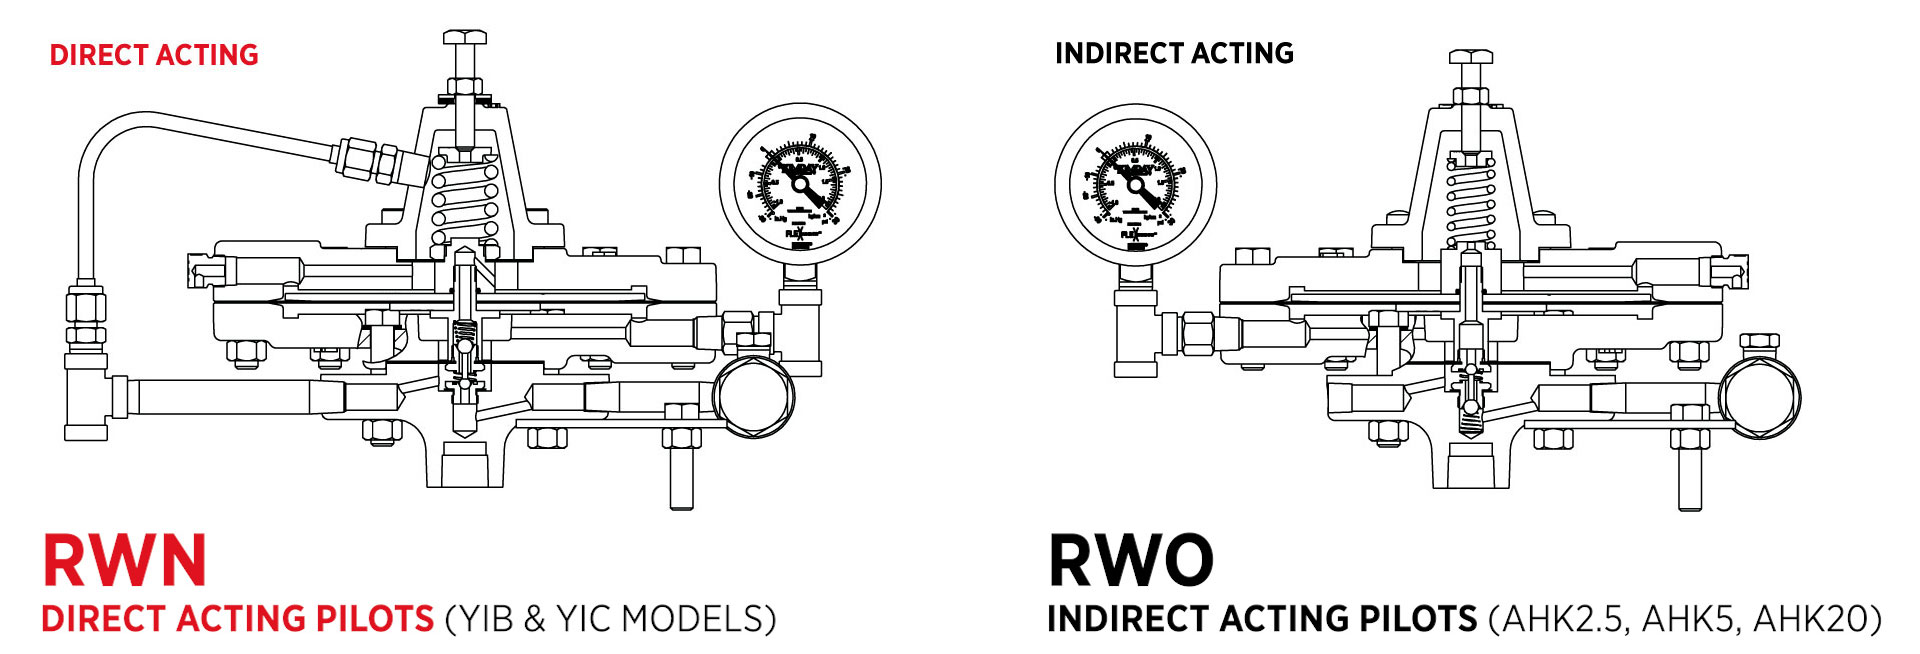
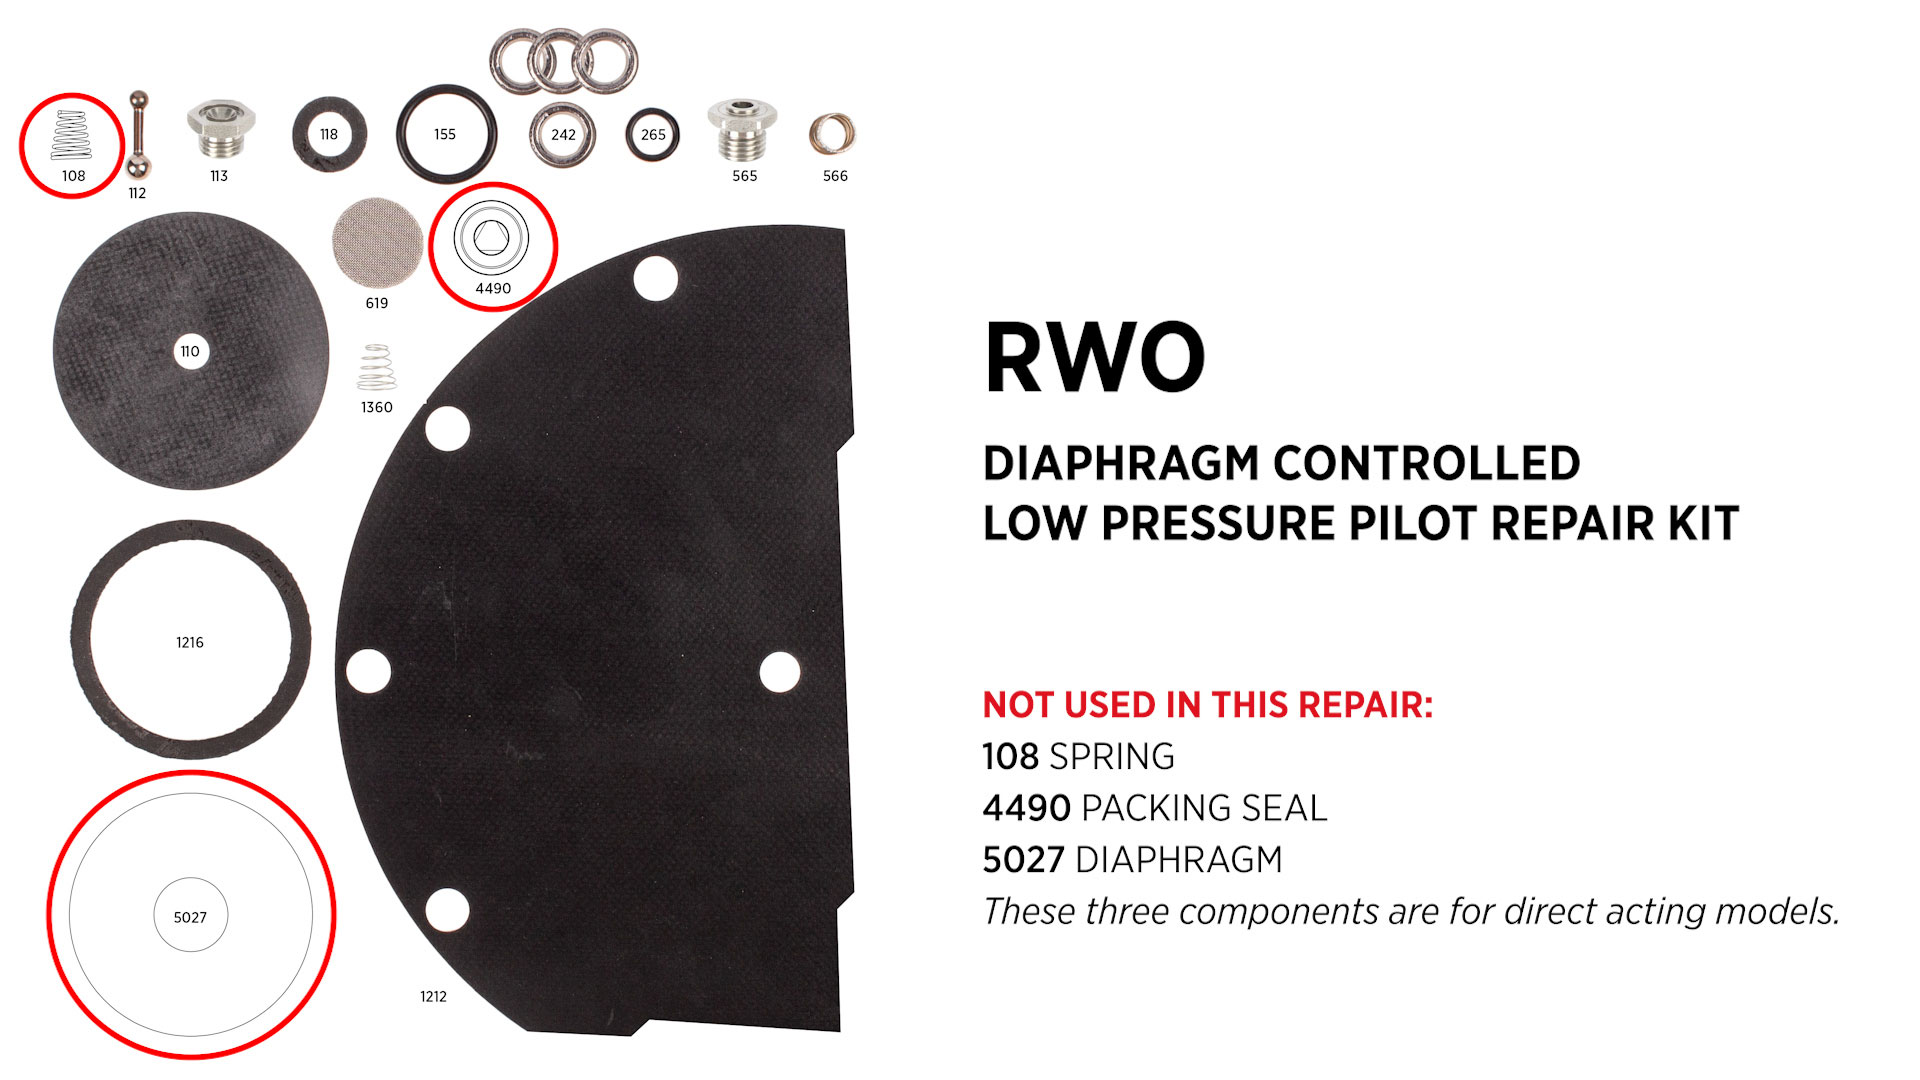
In this video, we’ll be using a RWO Kimray repair kit on an AHK20 (indirect acting low pressure pilot).
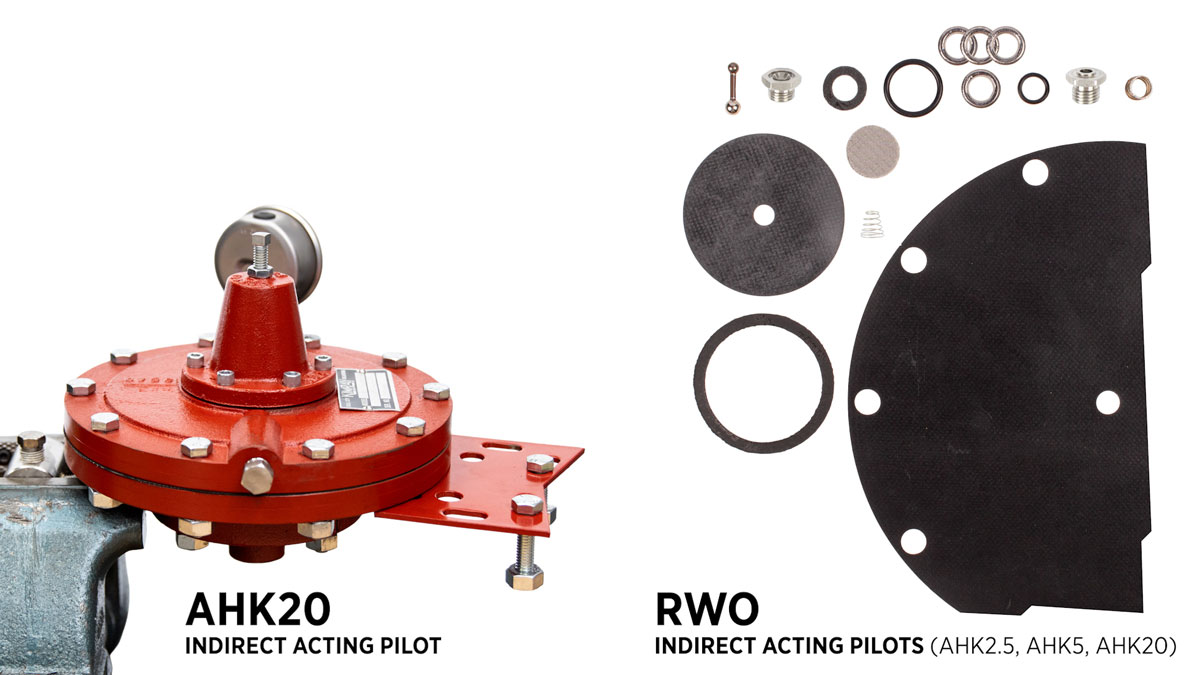
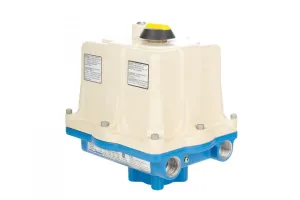
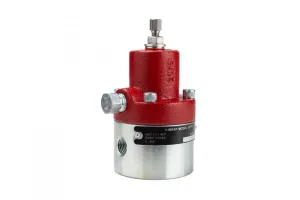
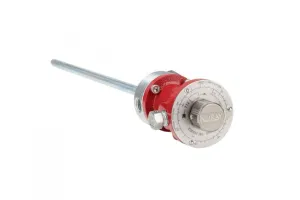
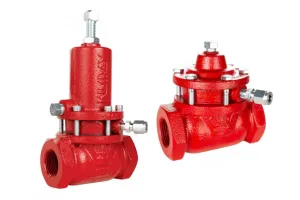
For direct acting models (YIB2.5, YIB5, YIB20) and "vacuum” models (YIC2.5, YIC5, YIC20), you’ll use the RWN repair kit.
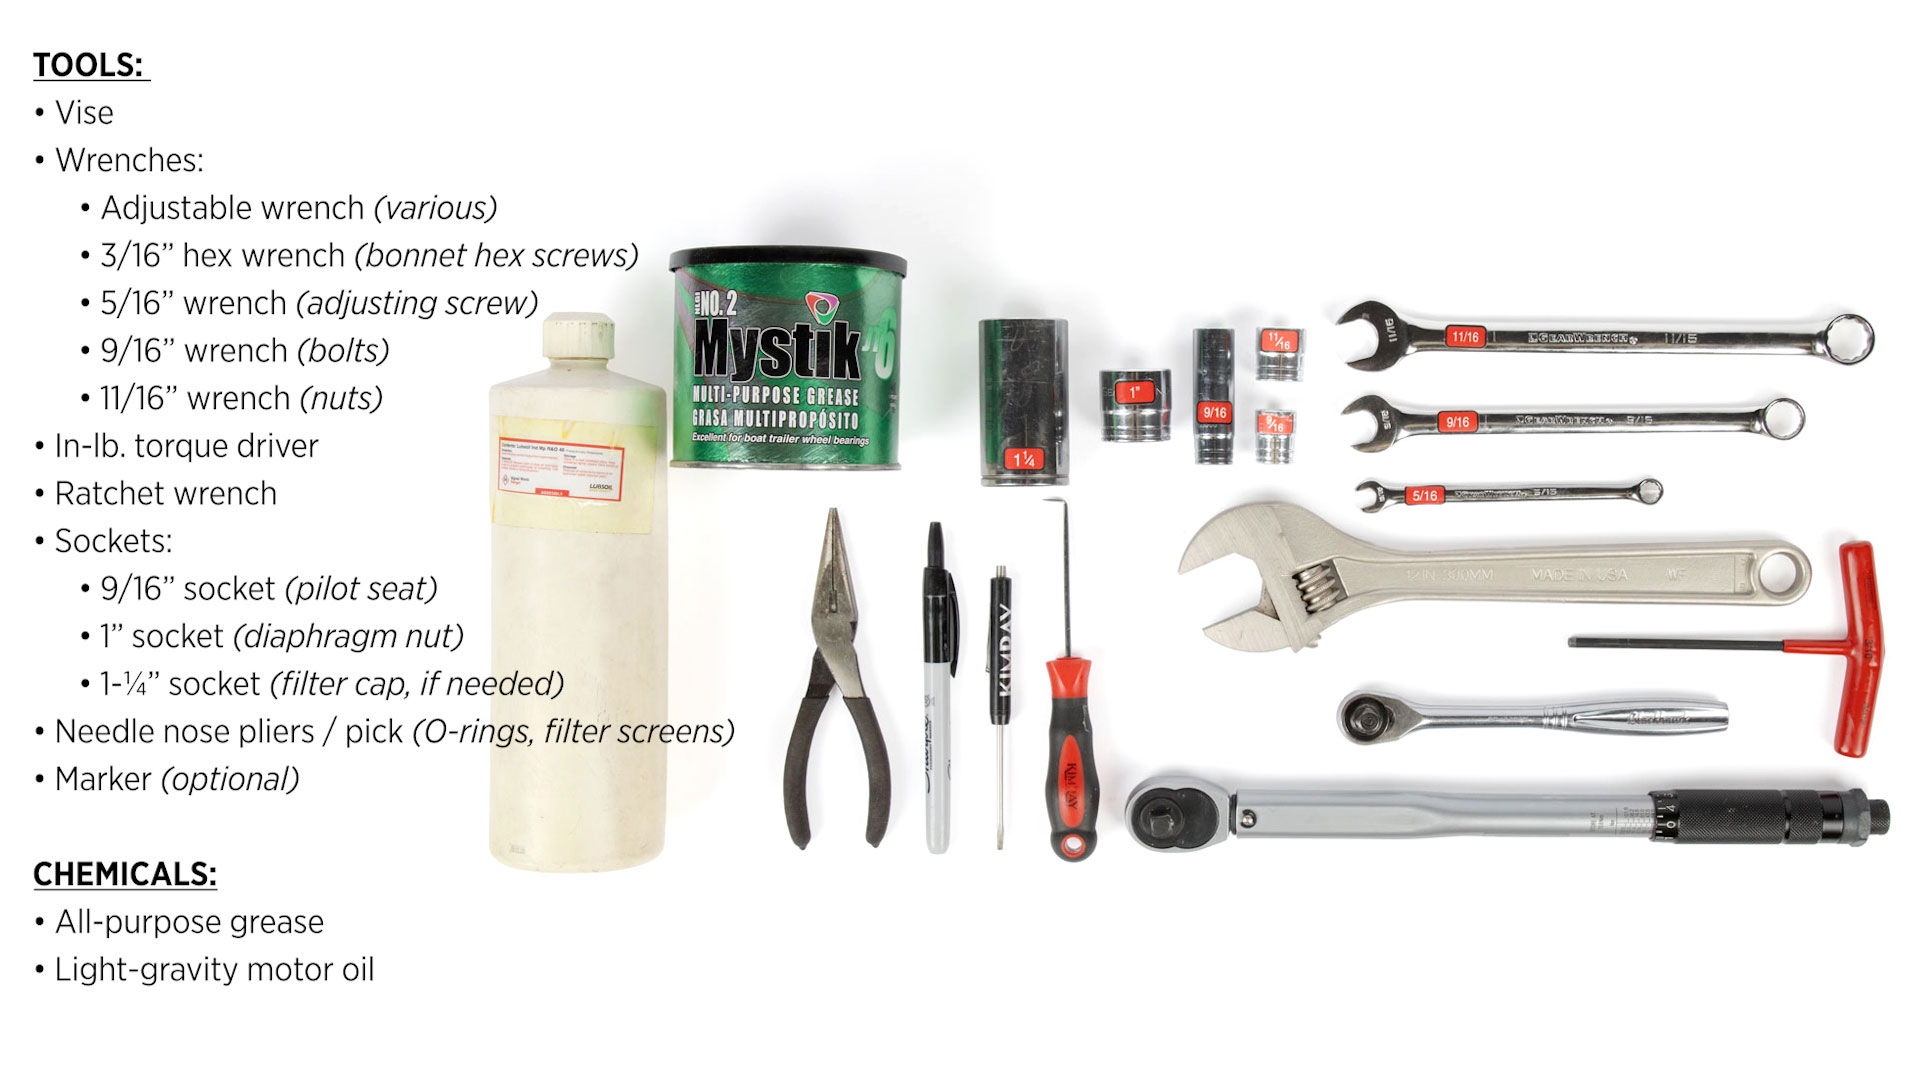
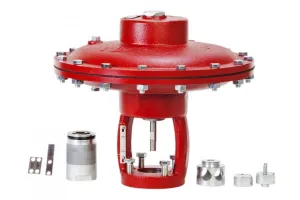
For this repair you’ll need the following tools, components and chemicals:
Tools:
- Vise
- Wrenches:
- Adjustable wrench (various)
- 3/16” hex wrench (bonnet hex screws)
- 5/16” wrench (adjusting screw)
- 9/16” wrench (bolts)
- 11/16” wrench (nuts)
- In-lb. torque driver
- Ratchet wrench
- Sockets:
- 9/16” socket (pilot seat)
- 1” socket (diaphragm nut)
- 1-¼” socket (filter cap, if needed)
- Flathead screwdriver, needle nose pliers, and/or pick (O-rings, filter screens)
- Marker (optional)
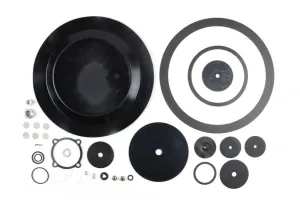
Kimray Components:
- RWO Repair Kit
- OR RWN (direct and vacuum models)
Chemicals:
- All-purpose grease
- Light gravity motor oil
CAUTION: The procedures demonstrated in this video are intended for general informational purposes only. Always follow your company’s safety requirements, policies, and applicable regulations when performing any maintenance or repair.
Before starting any repair or maintenance activities:
– Review and follow all WARNING and CAUTION notes found in the Kimray Installation, Operation, and Maintenance (IOM) guide for your specific product.
– Wear all required personal protective equipment (PPE), including approved eye protection, steel toe safety shoes, and nitrile gloves to protect against exposure to chemicals and other hazardous materials.
Failure to use appropriate PPE or follow proper procedures can result in serious injury or death.
WARNING: Before any service, be certain that the valve is fully isolated and that all pressure upstream and downstream has been relieved. Use bypass valves or fully shut off the process. Be sure that any operating or instrument gas lines have been disconnected. Never assume that a check valve is fully blocking the downstream line. Never tighten any fitting or the main connections to the regulator while there is pressure on the line.
Separate the Pilot from Package Assembly
The pilot will first need to be separated from the package.
- Disconnect the tubing
- Use a 9/16” and 11/16” wrench to remove the bracket from the control valve.
- Take note where the mounting bracket is for future assembly.
Low Pressure Pilot Disassembly
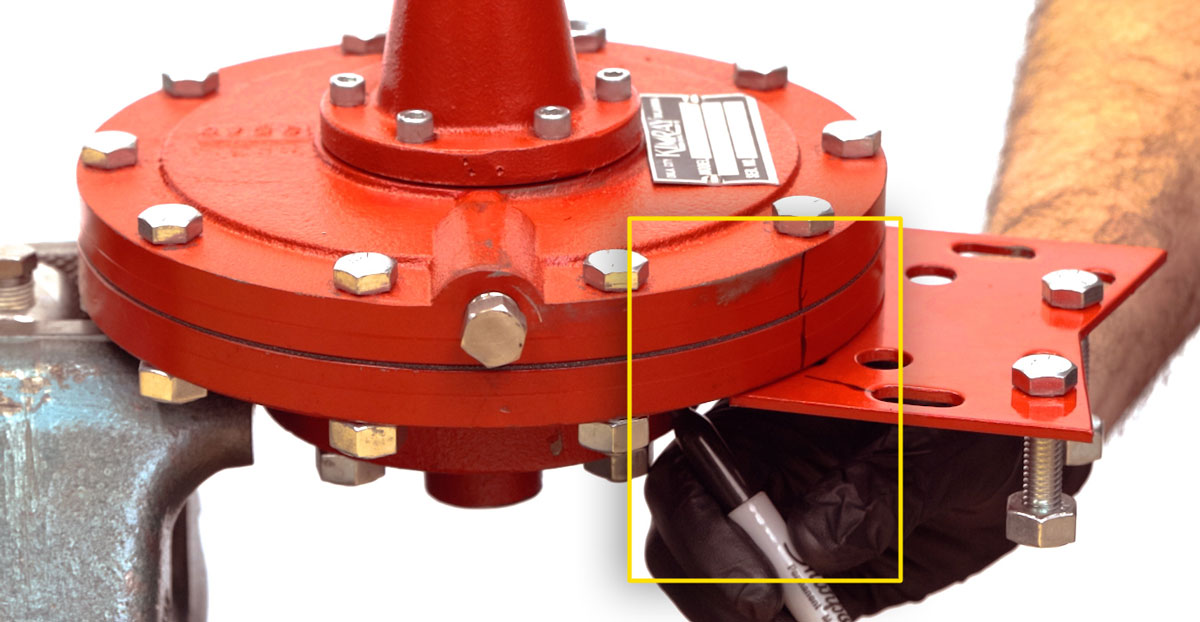
- Securely mount the pilot in a vise with the filter body.
Before disassembly, draw a line down the pilot to make alignment easier during assembly.
- Use a 5/16” wrench to unthread and remove the adjusting screw and nut.
- Remove the six bonnet screws with a 3/16” hex wrench, then remove the bonnet.
- Remove the spring and spring plate.
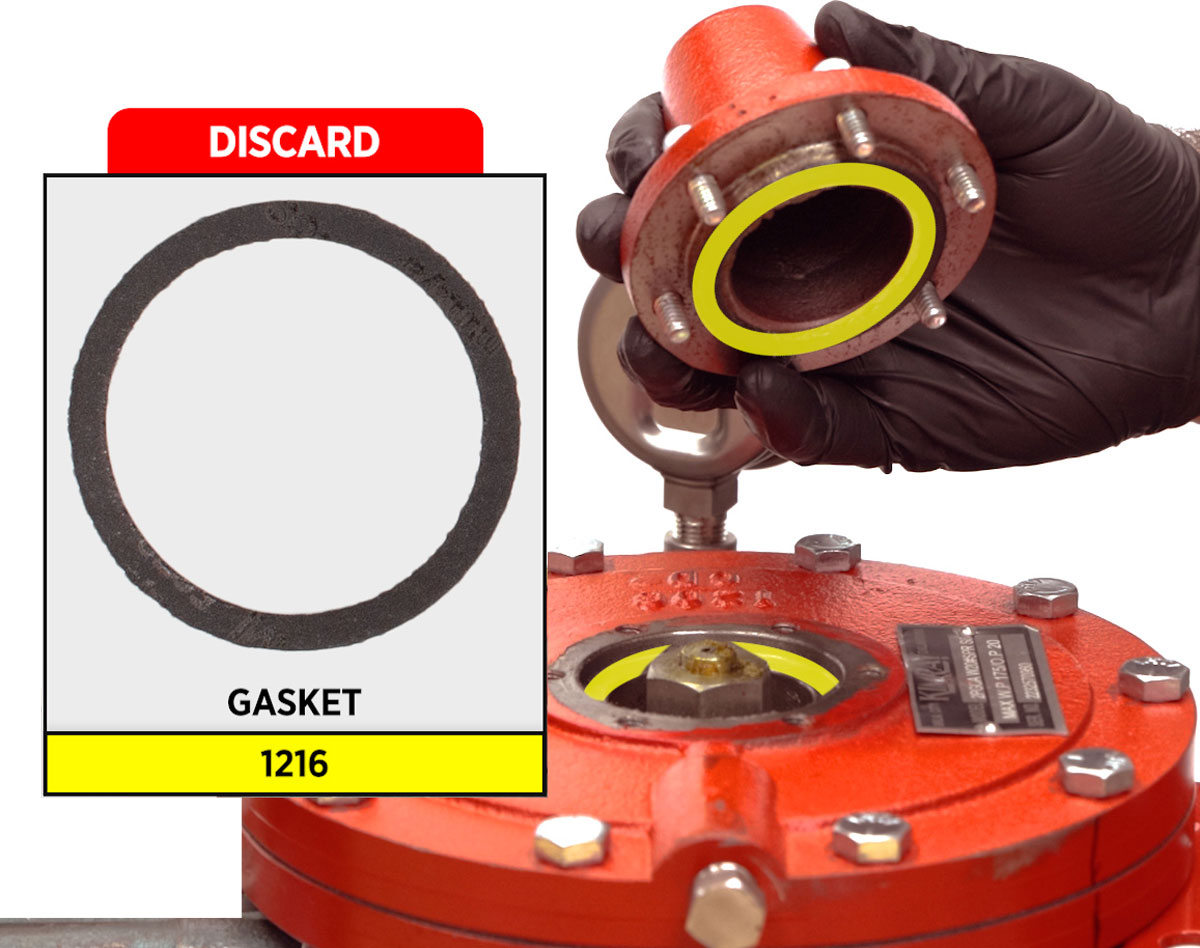
The 1216-gasket will either be in the recessed bore of the upper pilot housing OR on the bottom face of the bonnet that was previously removed. Use a pick or small flathead screwdriver to remove and discard the 1216 gasket.
- Next, remove the diaphragm nut with a 1” socket and ratchet. An adjustable wrench can be used if a 1” socket is not available.
- Use a pick to remove and discard the 265-O-ring from the diaphragm stem.
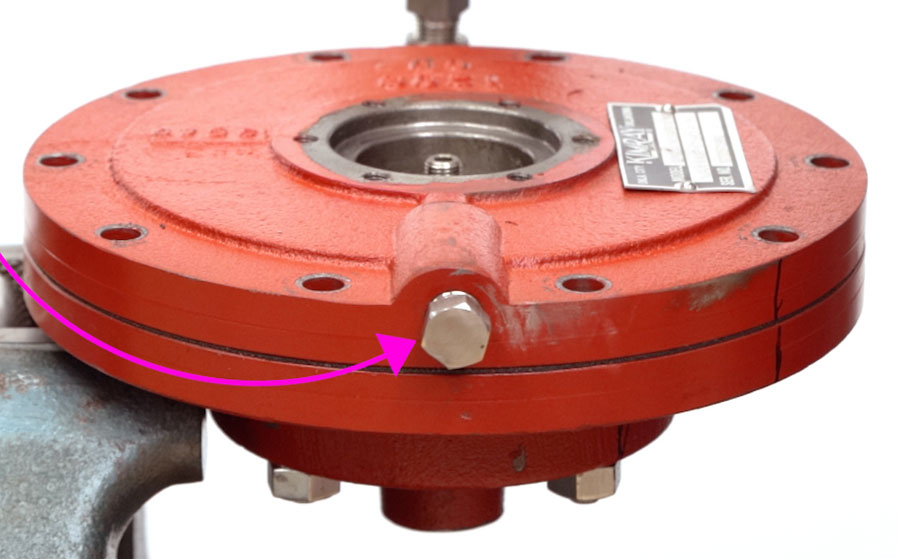
- Use a 9/16” and 11/16” wrench to remove the upper pilot housing bolts and nuts.
- Remove the upper pilot housing. This may be stuck and require an alternative method:
If stuck, install a 1/2” male NPT extended pipe fitting into upper housing NPT port and tap the connector with a mallet to loosen pilot housings. Remove the connector once the housings are separated.
- Then remove the upper diaphragm plate.
- Remove and discard the 1212-diaphragm.
- Then remove the lower diaphragm plate.
- Use a 9/16” socket wrench and 11/16” wrench on the nuts to loosen the four bolts on the lower pilot housing. Keep the bolts but discard the four 242-gaskets.
- Carefully lift the lower housing and attached components off the pilot base and set it aside. We will finish disassembly on this later.
- Next, remove and discard the 566-booster spring from the pilot seat.
- Use a 9/16” socket to remove the 565-pilot seat.
- Discard the 565-pilot seat and the attached 118 gasket.
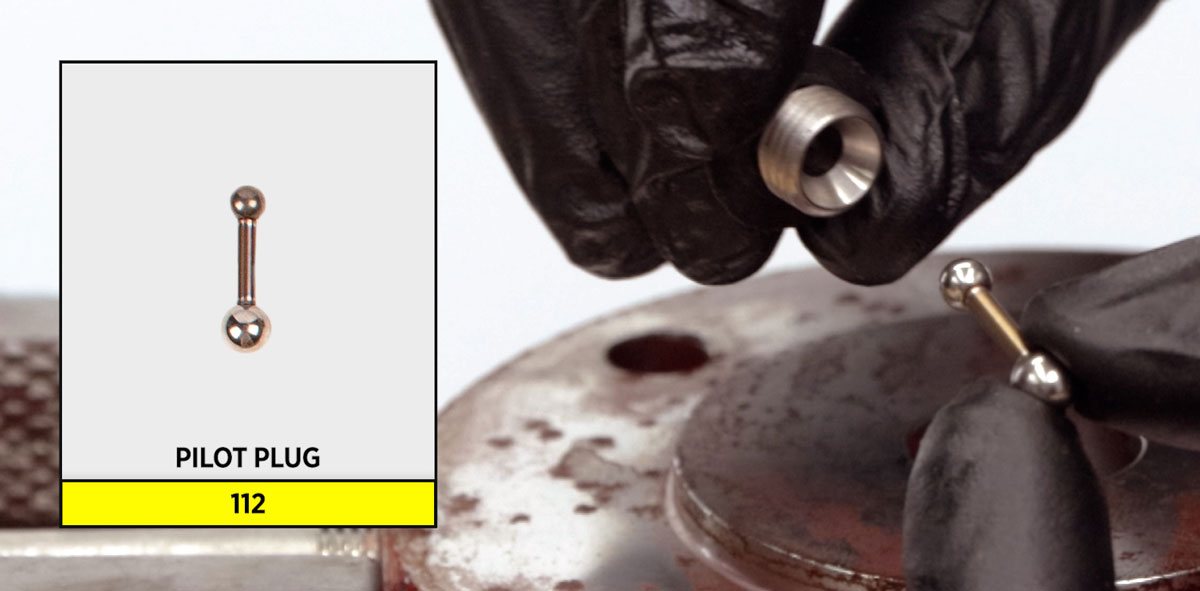
- Discard the 112-pilot plug.
- Remove and discard the 1360-conical pilot spring.
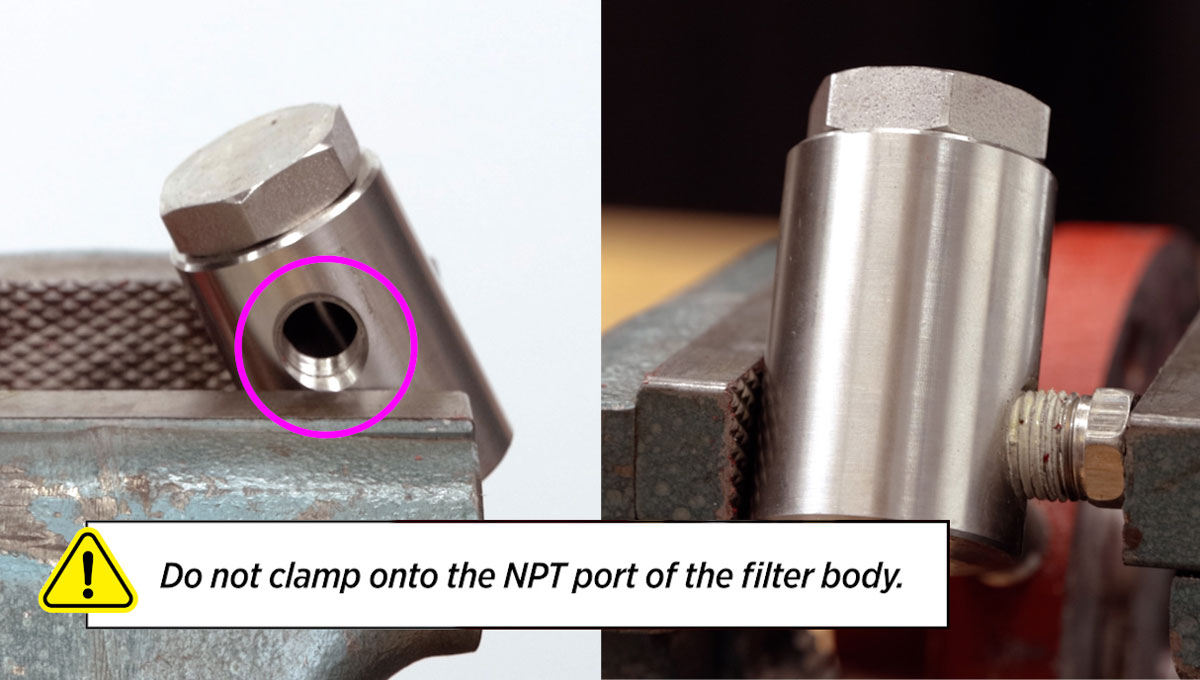
Unclamp the vise and place the filter in the vise so that the cap is facing up. You can clamp on the hex face of the 699-NPT plug but be careful that the vise jaw on the other side is not clamping on the NPT port of the filter body.
- Remove the filter cap with an adjustable wrench or a 1-1/4” socket & ratchet.
- Use a pick to remove and discard the 155-O-ring from the filter cap.
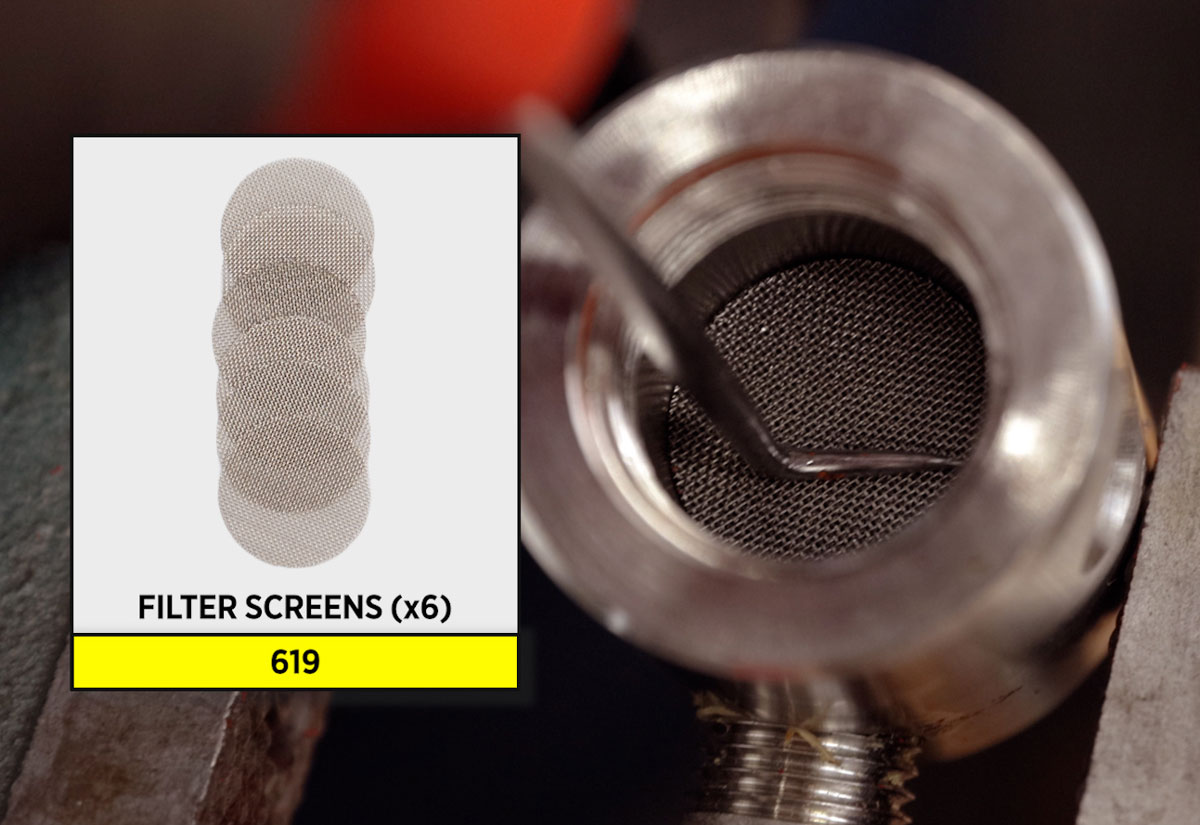
- Remove and discard the six filter screens from the filter body. This can be done with a pick, small flathead screwdriver, or needle nose pliers.
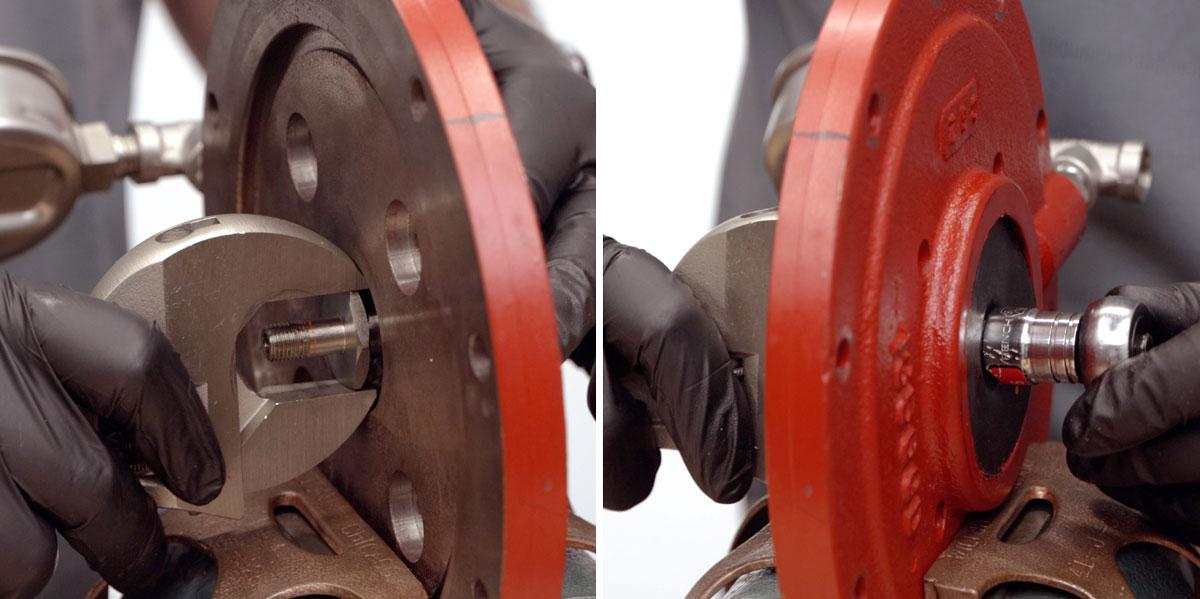
- Remove the base assembly from the vise and replace it with the lower pilot housing assembly vertically.
Use an adjustable wrench to grip the hex face of the diaphragm stem. On the other side of the lower pilot housing, grip on the 113-pilot seat with a 9/16” socket. Loosen the diaphragm stem from the pilot seat and set it aside.
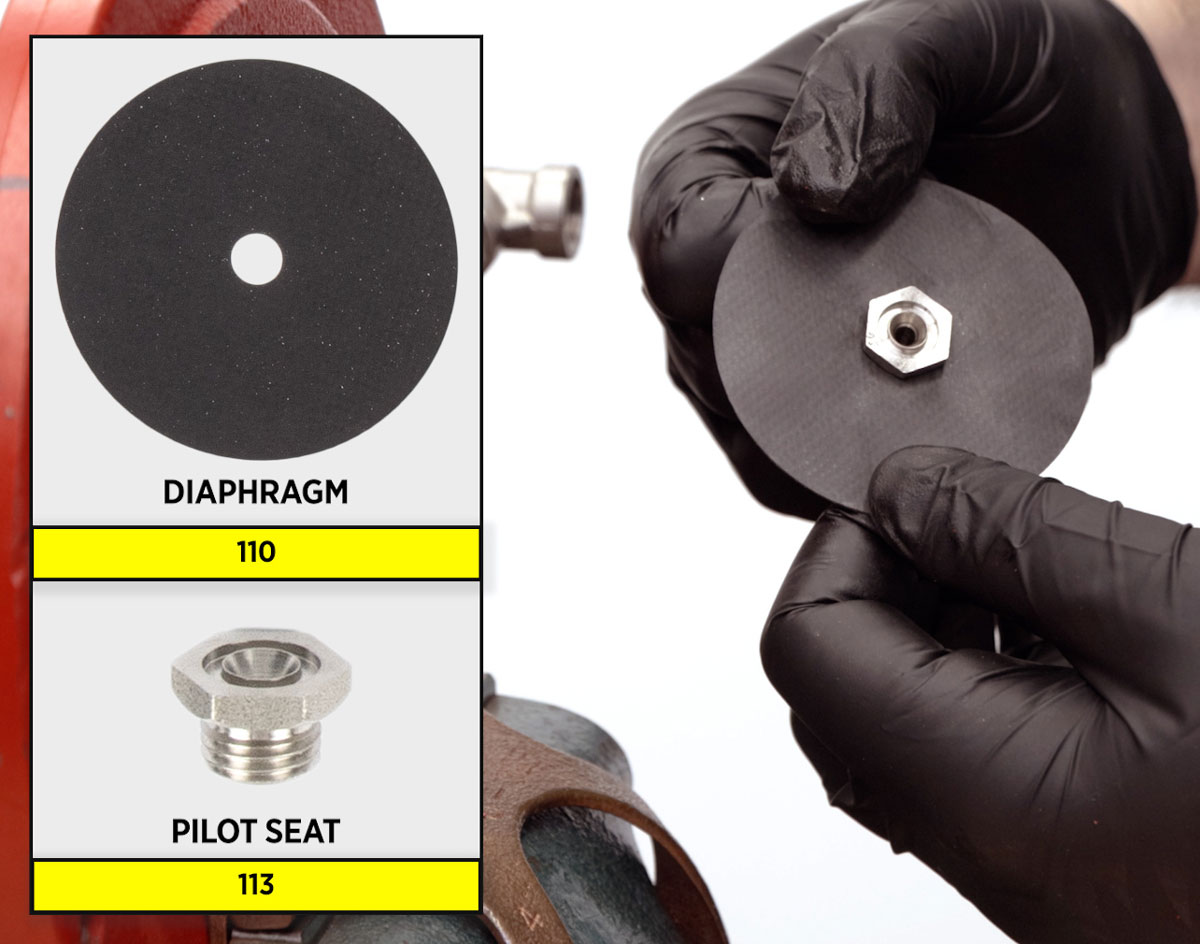
- Discard the 113-pilot seat and the attached 110-diaphragm.
Low Pressure Pilot Assembly
Install the 110-diaphragm on the 113-pilot seat.
- Position the pilot seat on the bottom side of the lower pilot housing. On the other side of the lower pilot housing, hand start the diaphragm stem onto the 113-pilot seat.
- Tighten the pilot seat with a 9/16” socket and adjustable wrench. Do not overtighten. If using a torque driver, torque to 15 in-lb.
- Remove the lower pilot housing and place the base assembly in the vise, position the filter so the cap is facing up. Again, ensure that the vise jaw is not clamping against the NPT port of the filter.
Install the six 619-filter screens into the filter using needle nose pliers, a flathead screwdriver, or pick.
- Install the 155-O-ring onto the filter cap.
Thread the filter cap onto the filter body and then apply oil to the O-ring on the filter cap before fully tightening with an adjustable wrench.

- Reorient the base assembly in the vise to clamp onto the top and bottom of the filter body.
- Insert the 1360-pilot spring into the base center bore, wide end down.
Install the 118-gasket onto the 565-pilot seat.

- Insert the small ball end of the 112-pilot plug through the 565-pilot seat.
Holding the small end of the 112-pilot plug, hand start the 565-pilot seat into the base.
- Tighten the pilot seat in place with a 9/16” socket, but do not overtighten. If using a torque driver, torque to 15 in-lb.
- Place the 566-spring on top of the 565-pilot seat.
Attach the four 242-gaskets on the bolts with the flat side facing the bolt head. Note that these four bolts are longer than the bolts for the upper pilot housing.
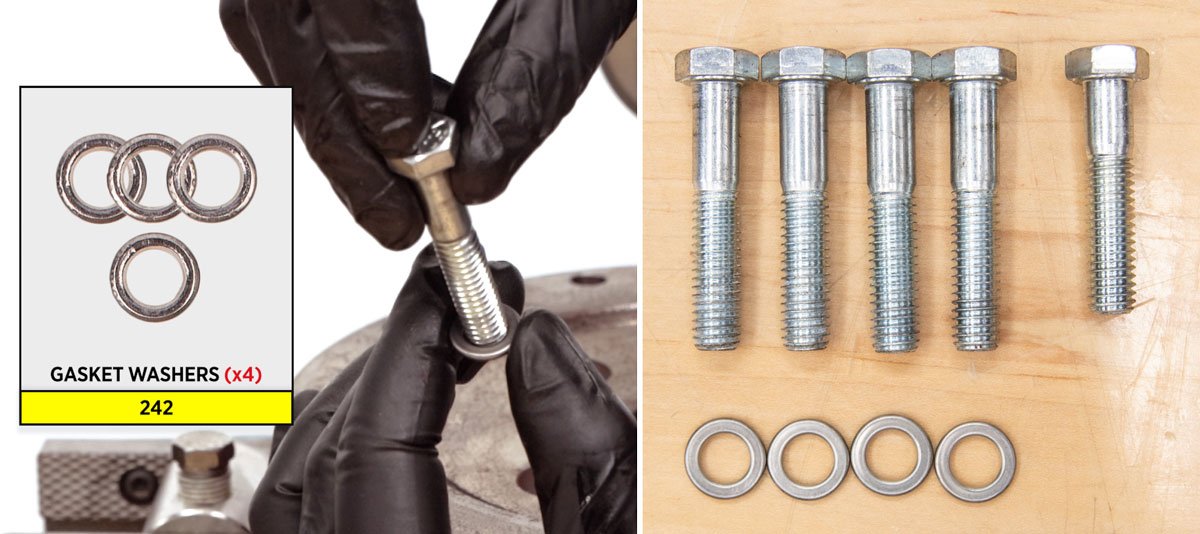
- Insert the four bolts and gaskets through the lower pilot housing and install a nut onto each one, tightening with a 9/16” and 11/16” wrench to 20 ft-lb. torque.
- Next, install the lower diaphragm plate.
- Place the 1212-diaphragm on top.
- Followed by the upper diaphragm plate.
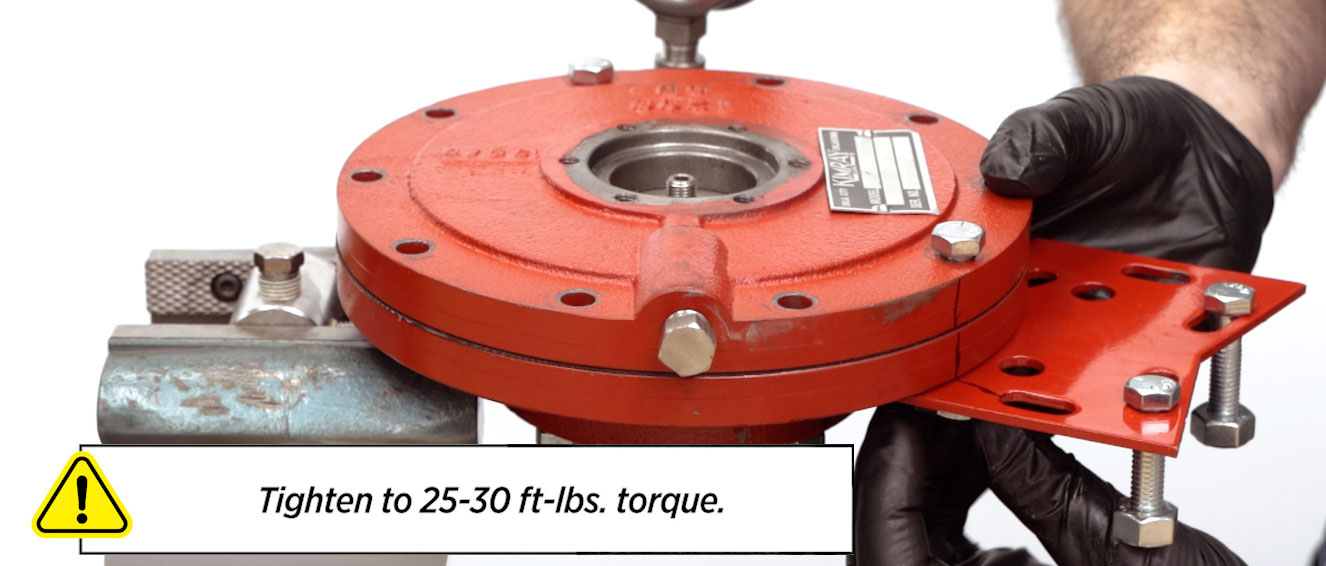
- Install the upper pilot housing on top and insert the bolts through the holes.
Install the nuts on the bottom of the bolts and tighten with a 9/16” and 11/16” wrench to 25-30 ft-lb. Also, install the mounting bracket during this time.
- Install the 265-O-ring onto the diaphragm stem.
- Then apply grease to the O-ring.
- Thread the diaphragm nut onto the stem by hand, then fully tighten it with a torque wrench and 1” socket to 60-70 in-lbs.
- Apply grease to the face of the upper pilot housing where the bonnet will set.
- Install the 1216-gasket.
- Then apply grease to the top of the gasket as well.
- Apply grease to the top of the diaphragm nut.
- Install the spring and spring plate on top of the diaphragm nut.
- Add grease to the top of the spring plate pivot.
- Place the bonnet on the upper pilot housing assembly. Hand start the bonnet bolts and then fully tighten with a 3/16” hex wrench or socket. Kimray recommends tightening it to 15-ft-lbs.
- Add grease to the threads of the adjusting screw and then install it into the bonnet with a 5/16” wrench.
That completes the repair. For any questions about this process or repair kits, reach out to Kimray Support.
