

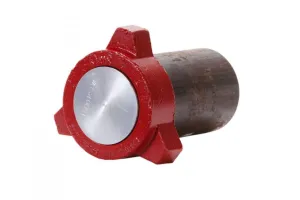
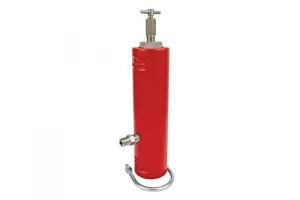

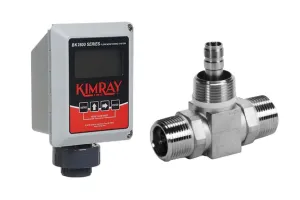
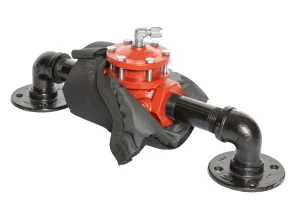
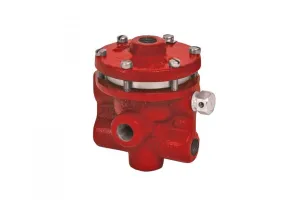
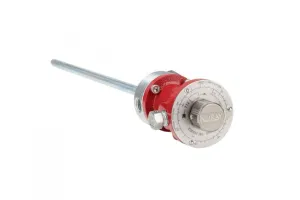
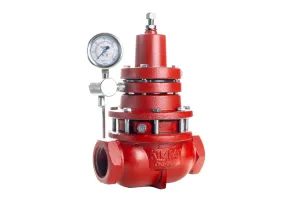
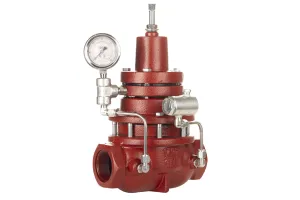
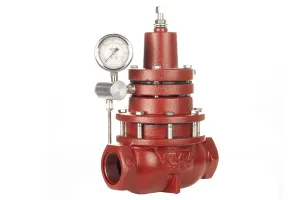
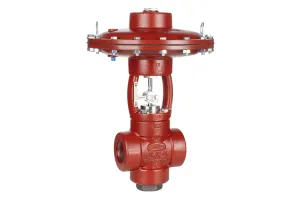
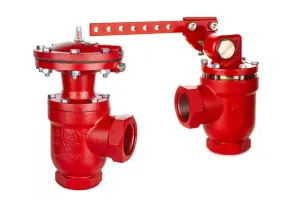
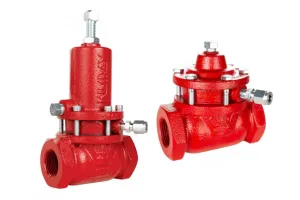
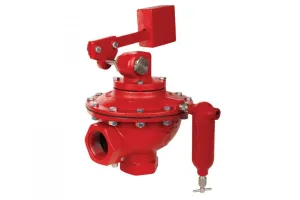
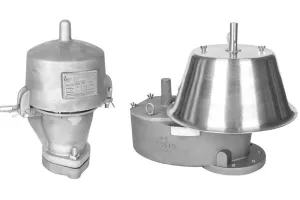
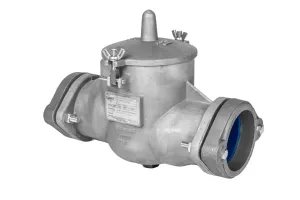
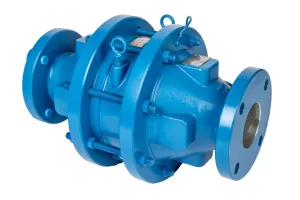
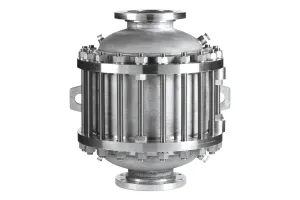
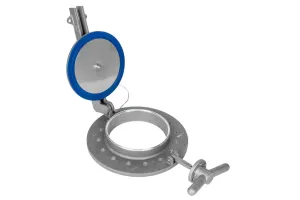
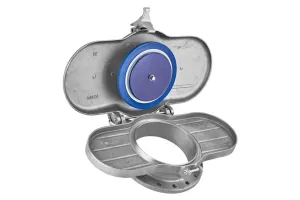
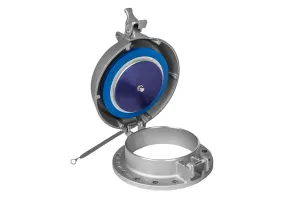
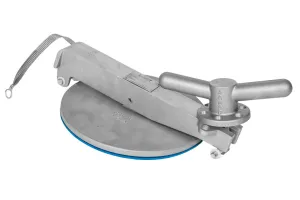
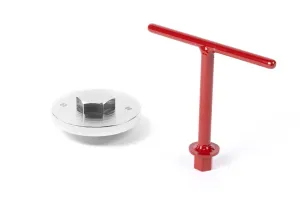
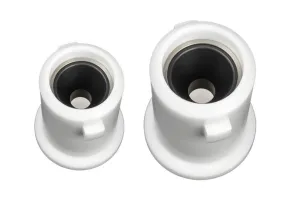
Kimray has partnered with LaMOT Valve & Arrestor to provide safe, reliable solutions for your well site storage tanks including gauge hatches, flame arrestors, and relief valves.
In this video, we’ll replace the soft good components on a LaMOT Pressure Vacuum Relief Valve to ensure they're operating safely and efficiently.
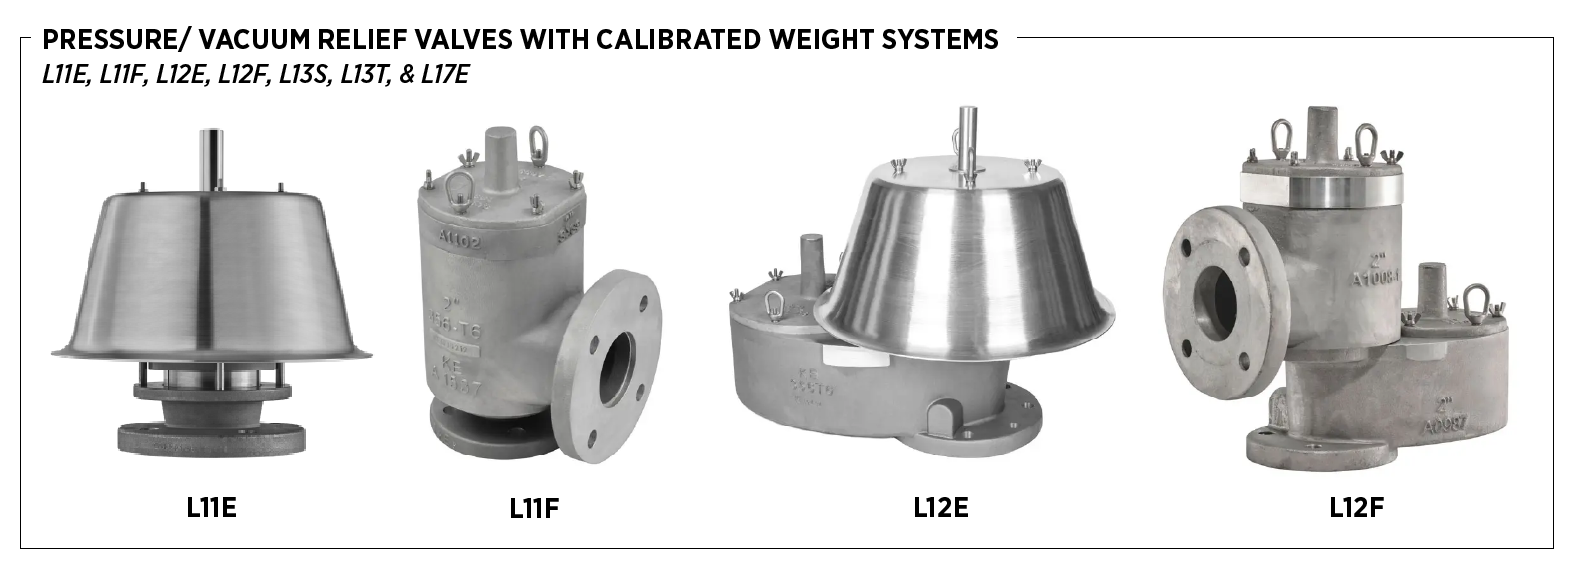
These steps apply to models with calibrated weight systems, including: L11E, L11F, L12E, L12F, L13S, L13T, and L17F.
For full details, refer to the supplied IOM for your specific product.
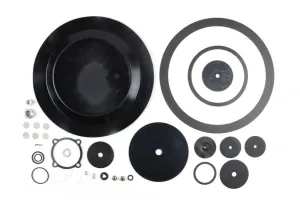
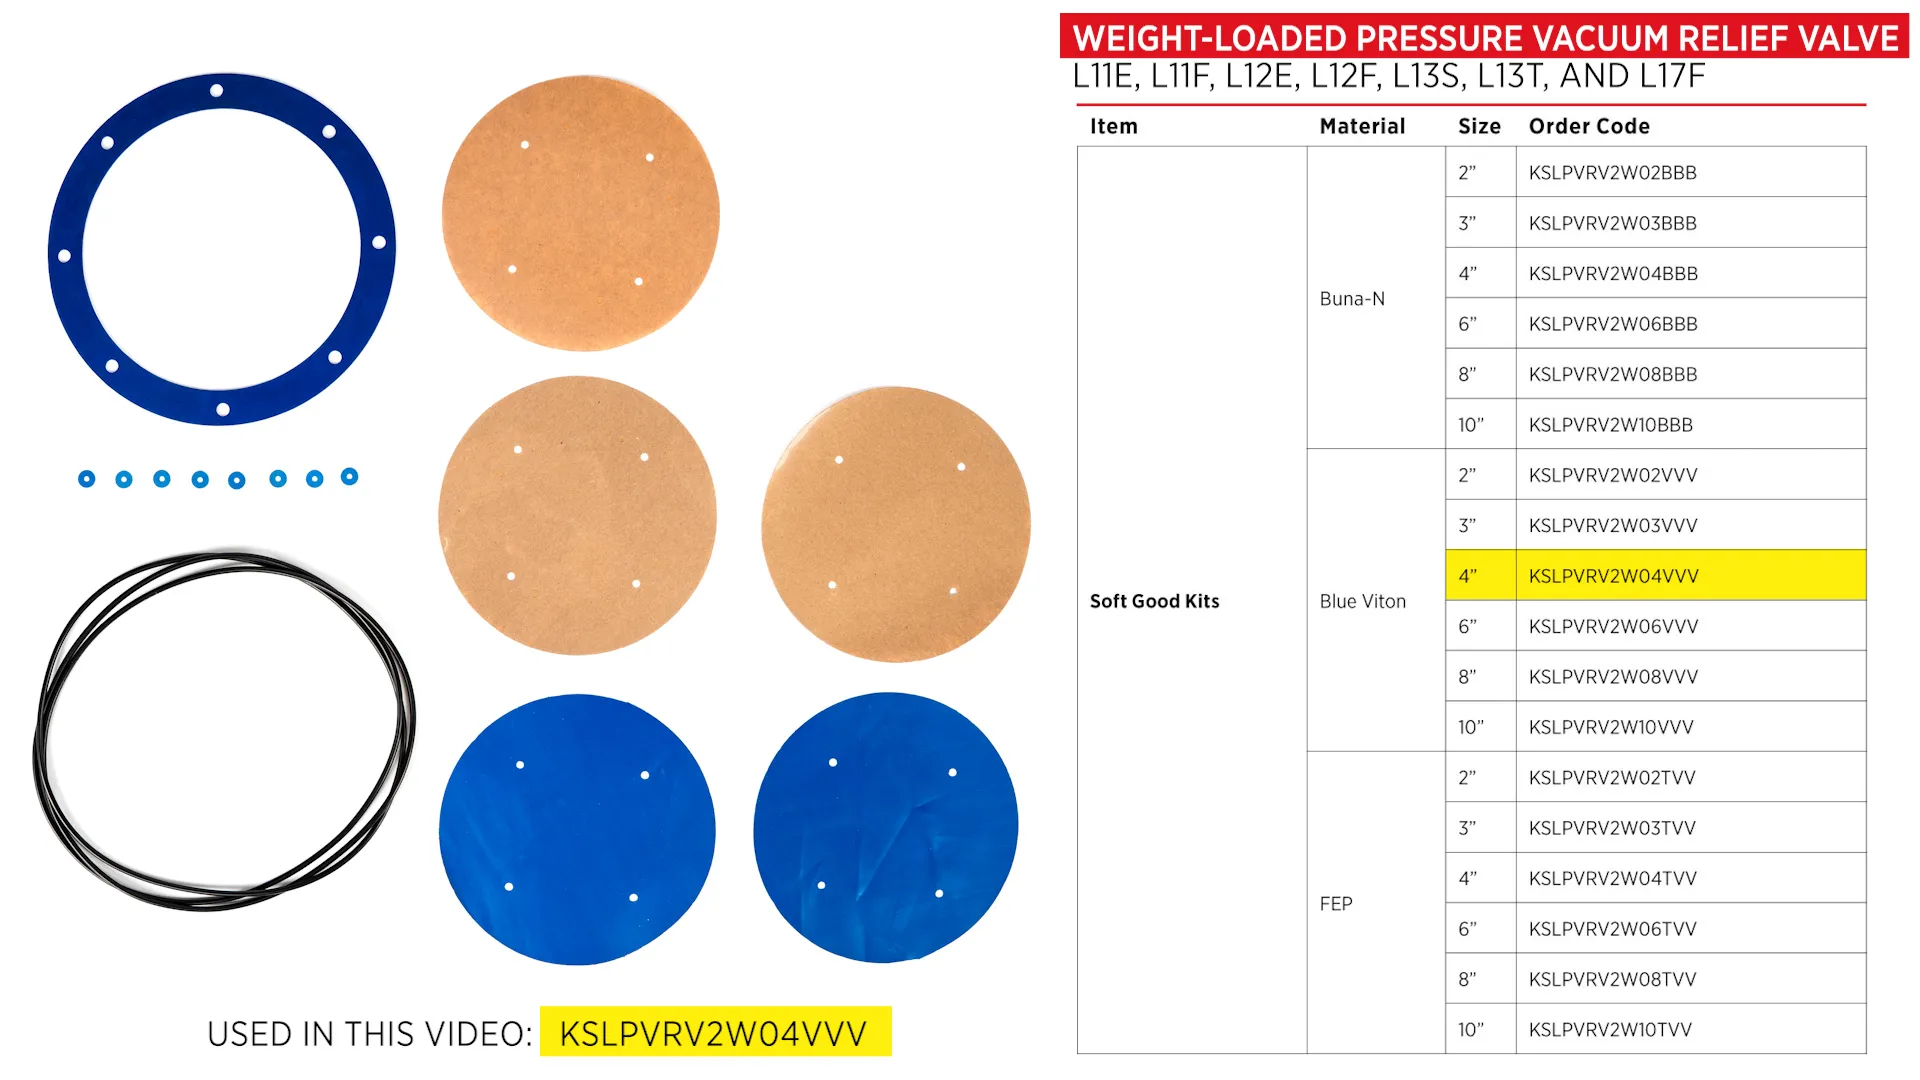
Official soft goods kits include all diaphragms, O-Rings, and gaskets and accommodate all weight-loaded pressure/vacuum relief valves. Note that these kits apply to multiple products, and you may have extra components when completed.
LaMOT Products Replacement Parts Guide
Before beginning any maintenance, ensure the tank is fully depressurized, all site lockout and tagout procedures are followed, and appropriate personal protective equipment is being worn.
Maintenance STEPS
Disassembly
- Start by removing the nuts and lock washers from the weather hood.
- Lift off the weather hood and bird screen being cautious of the sharp edges.
- Next, remove the nuts and lock washers from the vacuum cover.
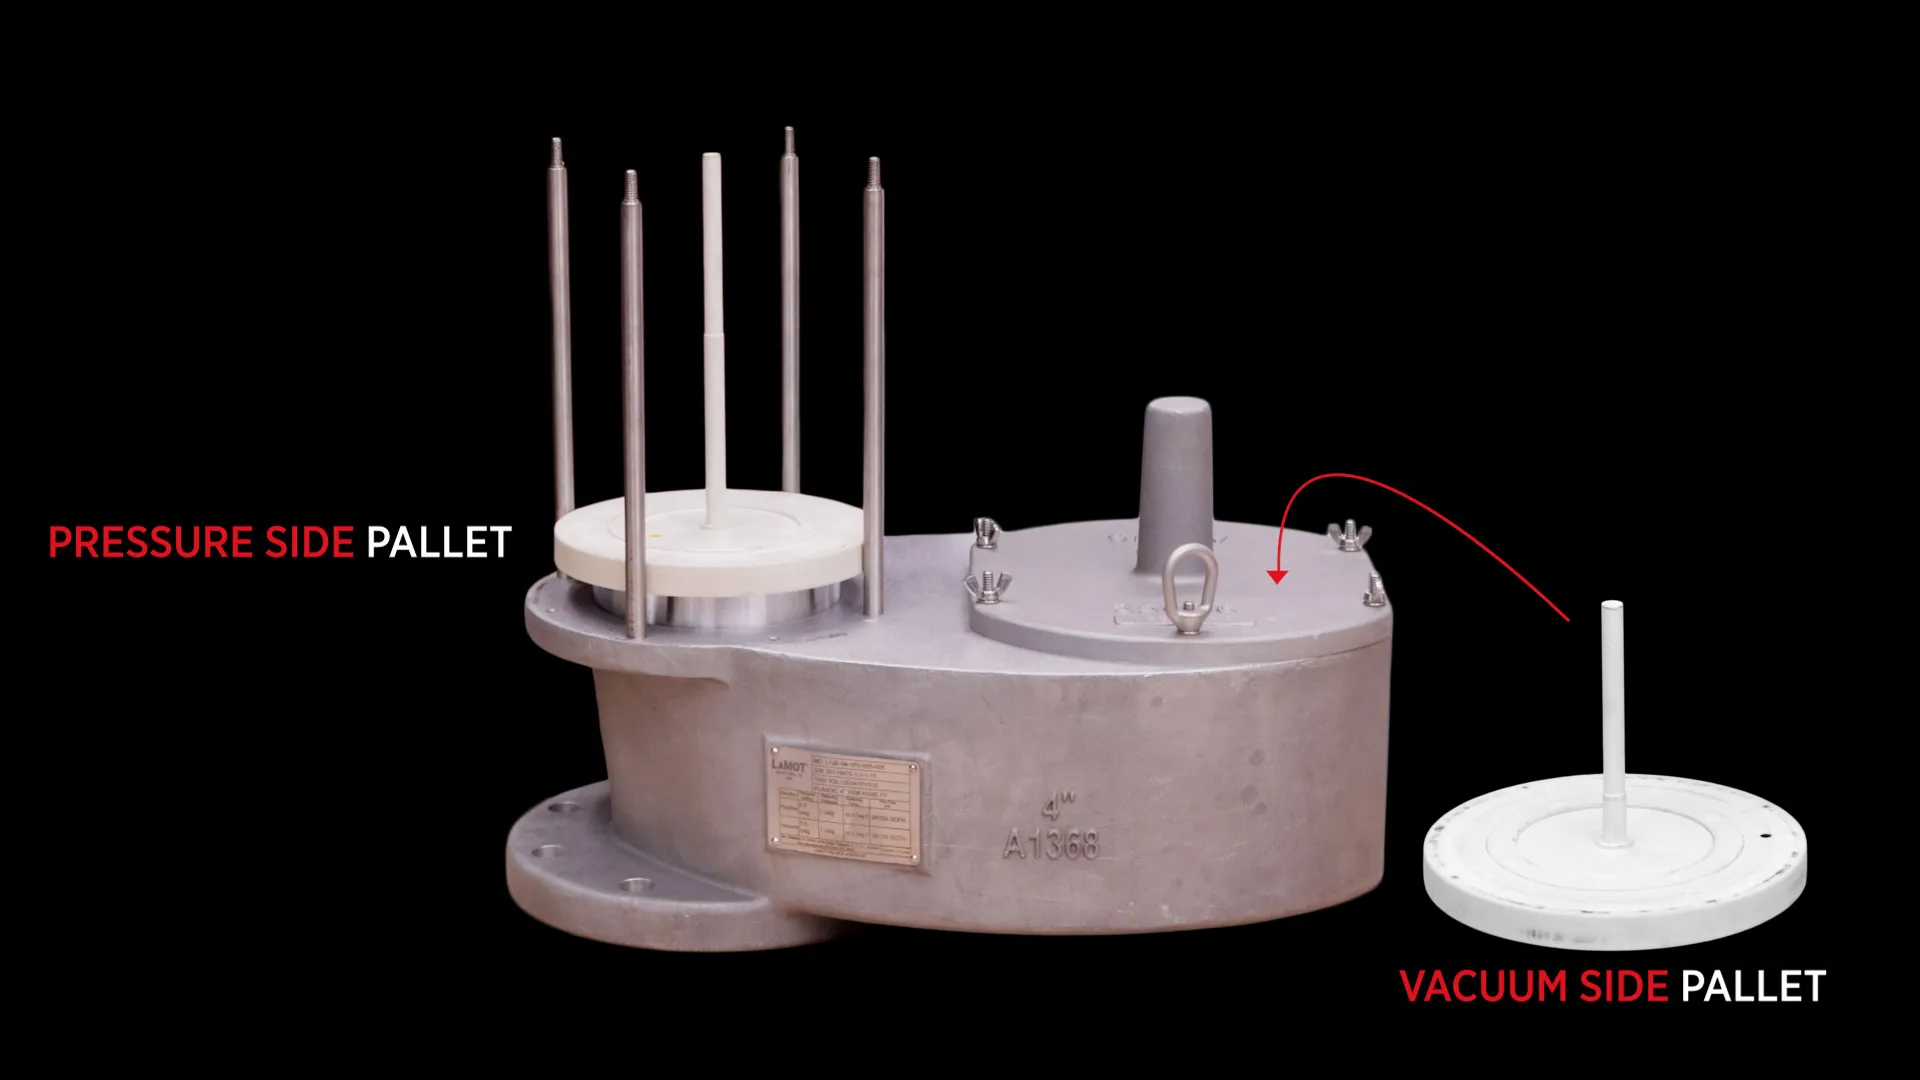
First, we’ll take care of the pressure side, then repeat the process for the vacuum side. By doing one at a time, we remove the risk of incorrectly replacing the weights or pallets.
Pressure Side
- Remove the pressure pallet assembly and any weight plates that may have been added.
- Secure the assembly in a vise with soft jaws to prevent the PPS from cracking. Do not overtighten.
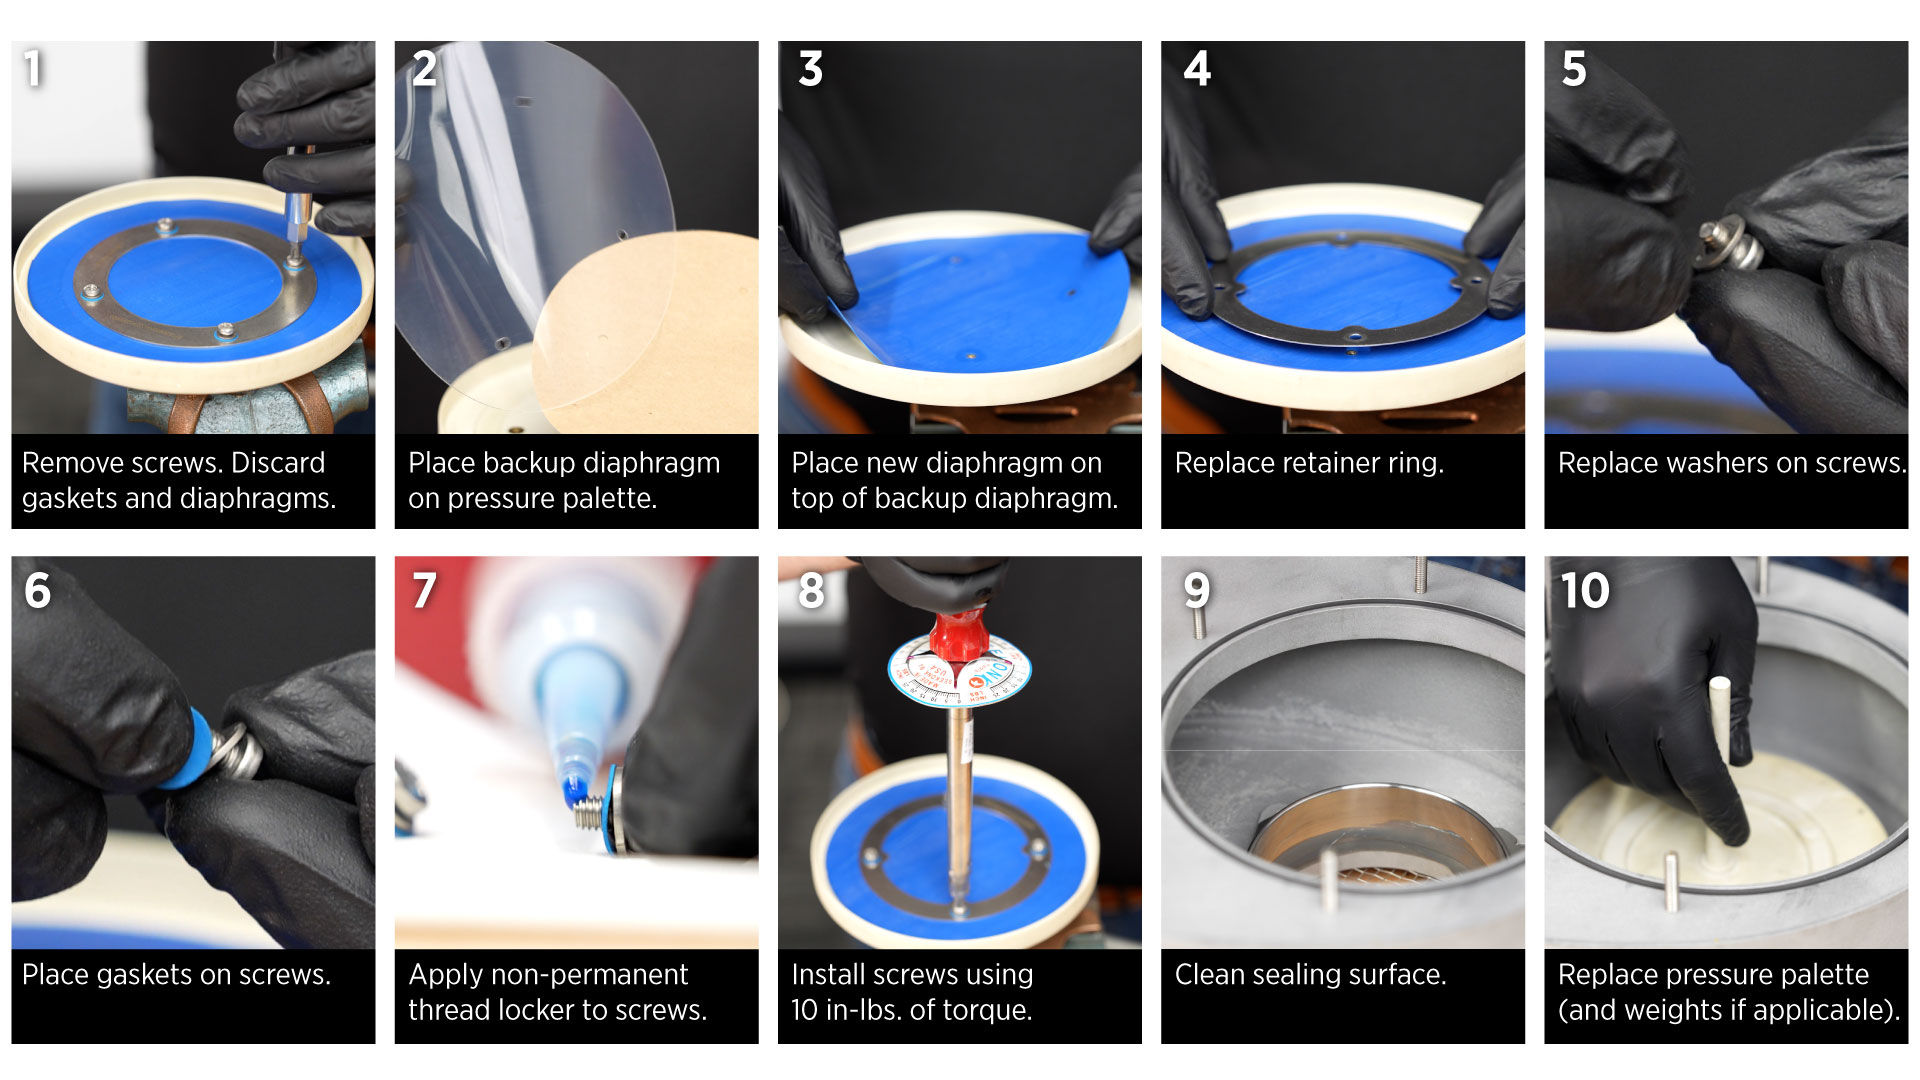
- Remove the screws and metal retainer plate with a Phillips head screwdriver.
- Discard the blue FKM diaphragm and the clear FEP backup diaphragm. This combination could vary based on your product's specific materials.
- Discard the four small gaskets between the washers and retainer plate.
- Visually check and clean the pallet, stem, and retainer plate. Ensure the seating surface of the pallet is clean and free of debris or scratches that could affect performance.
- Install the clear FEP diaphragm, followed by the blue FKM diaphragm, then the retainer ring on top. The cardboard is only for visually seeing what is in the packaging, and not to be installed.
- Place the washers on the screws followed by the new washer gaskets.
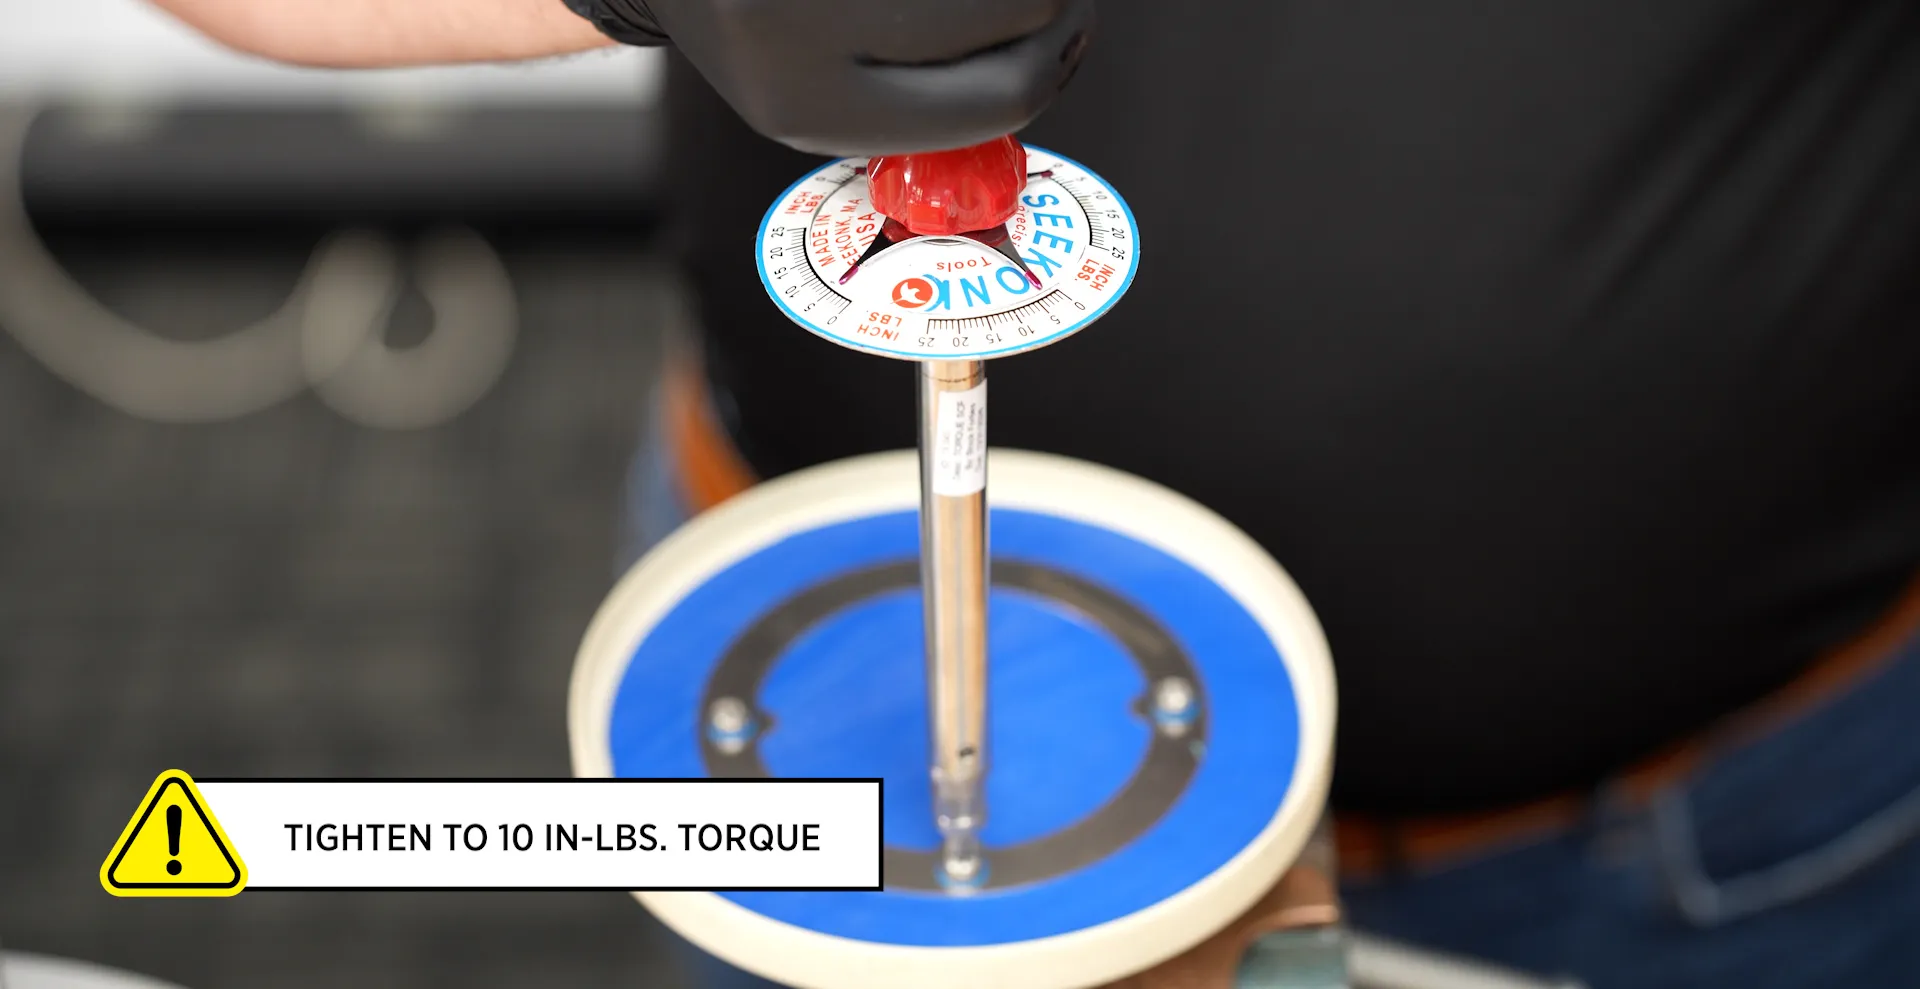
Use a non-permanent thread locker on the screw and install them to the pallet using 10 in-lbs. of torque.
- Make sure the sealing surface is clean, then replace the pressure pallet and weights if necessary.
Vacuum Side & Final Assembly
Repeat this same process for the vacuum side with a few variations.
- The vacuum side has a guide rod assembly to remove before taking out the pallet assembly and weight plates. When replacing the guide rod assembly, be sure the rod guides are fully seated.
Remove and discard the large O-ring from the body. This may have been stuck to the bottom of the vacuum lid if you don’t see it in place.
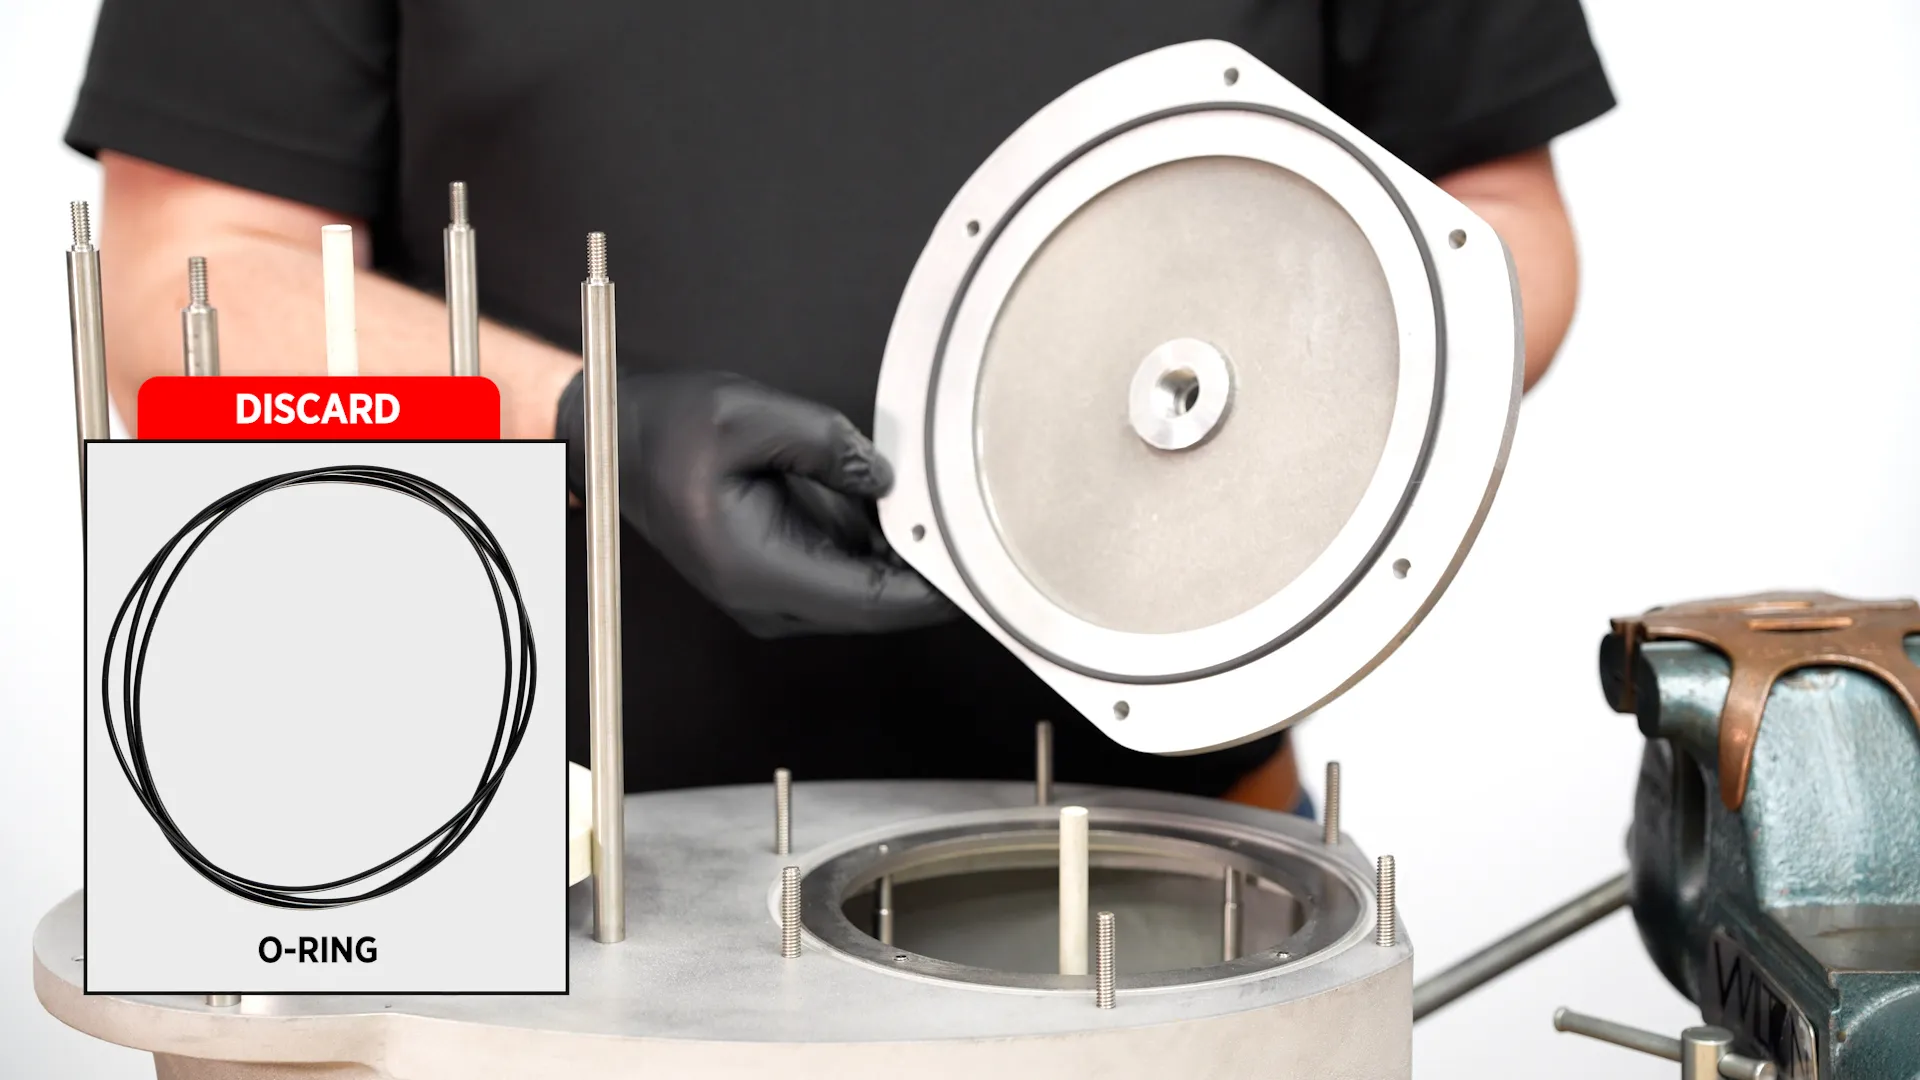
- Add grease to the O-ring surface. Replace the new O-ring and add grease to the top.
- Note that there are (3) O-rings in the repair kit, but we will only be using one. This is a master kit for several PVRV models.
If any of the vacuum side screws came out fully during disassembly, add thread locker and reinstall them into the body first.
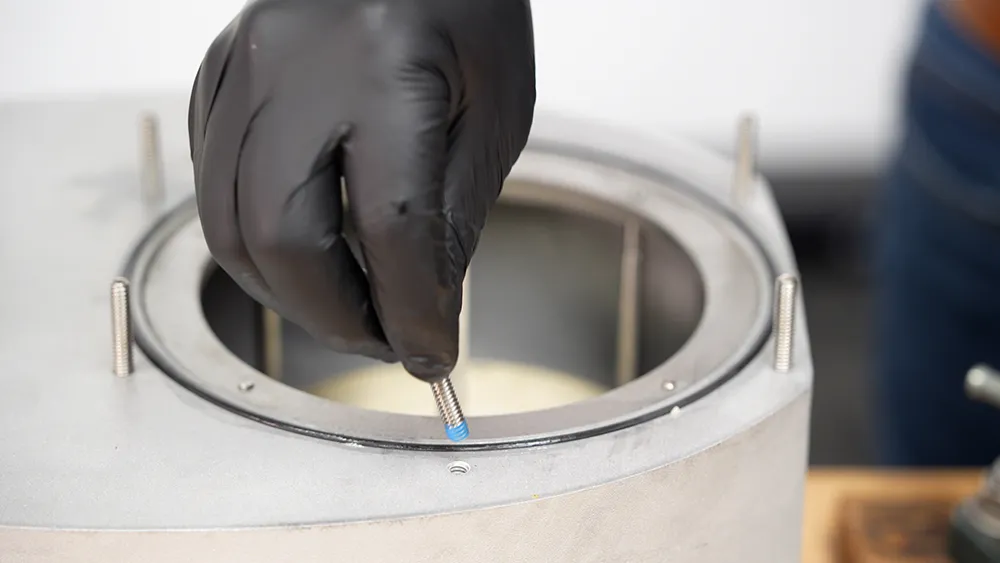
- Replace the vacuum side cover and secure all washers and fasteners.
- Replace the bird screen and weather hood, followed by the washers, wing nuts and lifting hooks tightened evenly. The lifting rings should be on the side closer to the center of the valve for weight distribution.
Reach out to your local Kimray representative with any questions about this process or to order repair kits.
